-
Posts
21 -
Joined
-
Last visited
About BULL65

Profile Information
-
Gender
Male
-
Location
Millinocket, ME
-
Interests
I like taking photos of wildlife, especially moose!
I spend alot of time making sawdust, doing wooden projects such as Intarsia (kinda like wooden jigsaw puzzles), and model building.
I've been a fan of Star Wars since day one, waaaaay back in the 70's.
Standard Info
-
Name
Mark
Recent Profile Visitors
688 profile views
-
FANTASTIC job!!! Mine's just about done.. I have to attach the cords. In the meantime, I'm making a sort of "light box" display stand. I just need to get some plexiglass and rope lights to put into it. I want to thank you so VERY much Artimorty! Had I not run across this thread, I'd have probably just followed HappyTrooper on YouTube. Not saying his is bad, you just took the customization, and ran with it!
-
I hear ya on still so much to do! For the OFF and the A R S, I first drew them on with a pencil, and using an incredibly tiny engraving bit with my Dremel, carefully carved them out. I think it worked ok, I used a needle file on the letters afterwards to clean them up. Yours came out fantastic!!!
-
It did very much so! Thanks! Since my drawer pull was brass, I cut the slot before glueing it on, so the plastic wouldn't get damaged from the heat. Worked like a charm! Unless you have any last minute ideas, I'm going to call mine done. I've pretty much did everything you've done, and looking at reference pics online, I really can't see anything else to do! I've just begun spraying the insides and out with black. There's some parts I need to add after the two halves are glued back together, and the seam filled and sanded. This really has been fun, and I've YOU to thank! Thank you Artimorty!
-
I ask, because I have a small brass drawer pull, perfect size, with the circles. I just had to trim the stem of it down a bit. I haven't glued it on the magazine yet, in case I do have to cut a slot across it.
-
Artimorty, the replaced cap with the concentric circles... Does that still need a slot across like a big screw?
-
Just about where I am now as well. I've been looking around the net looking at images of E-11's, just to see what else I can do on this. Like you, trying to figure out painting order. Since the "rod" in the folding stock is going to be silver, I'll have to prepaint the halves first I imagine?
-
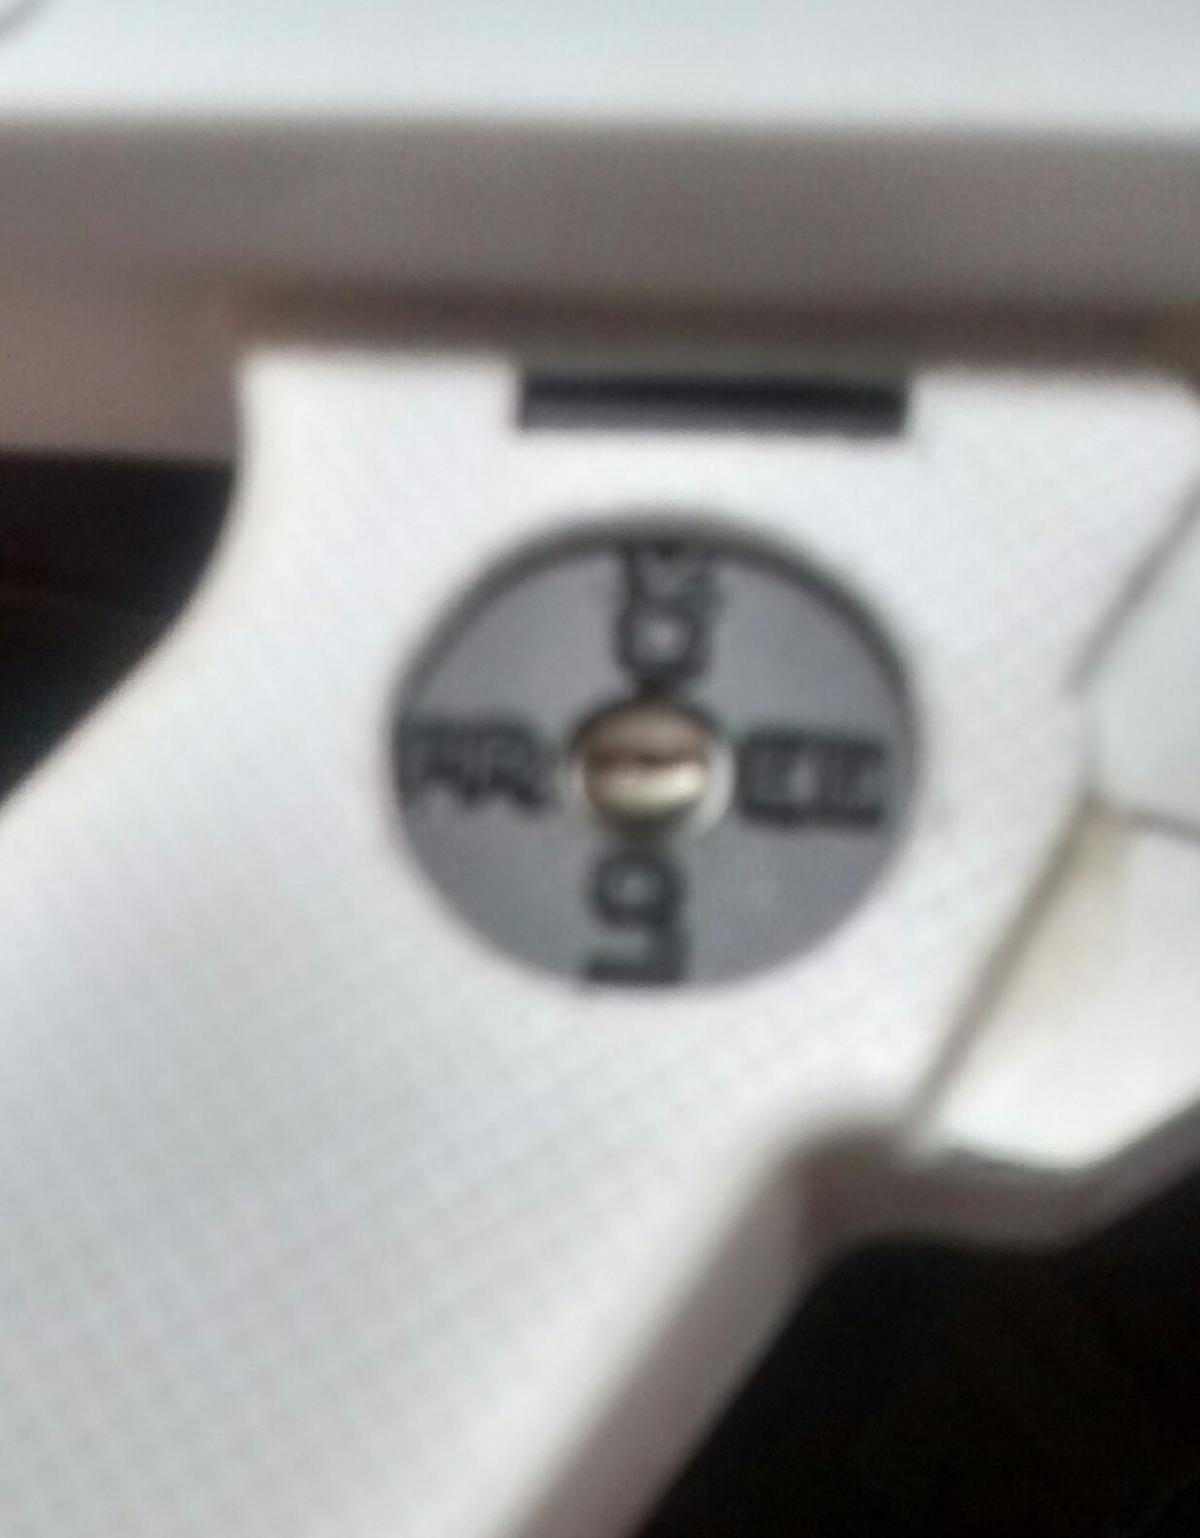
Pic's kinda blurry from my crappy phone camera, but you can see them. This was after priming twice, clear coating twice, and flat black twice. I trimmed super careful with an exacto and a cutting board each letter individually, the only thing just too small to trim inside was the E's.
-
Pic's kinda blurry from my crappy phone camera, but you can see them. This was after priming twice, clear coating twice, and flat black twice. I trimmed super careful with an exacto and a cutting board each letter individually, the only thing just too small to trim inside was the E's.
-
For the FREE & LOCK letters, not having any access to alphabet pasta, I was lucky enough to find someone with a Dymo embossing labeler. I had a strip printed out with FREE & LOCK several times, and using an exacto knife, very carefully cut the letters out. Good thing I had printed out the words several times, as I dropped the C when I was peeling off the backing to it! I can't see me crawling around on the floor looking for a teeny little letter! Ugh!! As it is, neither the C or the K would stick, so I had to dab them with glue. I'm going to prime, clear coat and then spray paint the plate before glueing the plate to the inside of the handle, to help hold the letters in place better.
-
I couldn't get the smaller lens of the binoculars to fit inside the scope's front, so I ended up cutting off the scope's front, enlarging the hole, now the binoculars piece has replaced it. Clamped together, you CAN actually see thru the scope, somewhat, but lol everything's upside down! Ah well, at least light passes through! You're right! Same supplier for the power cylinders! Small world!
-
nuts, double posted
-
hahahaha I'm on the fence about the tracks... I completely understand about wanting to keep as much as you can original. I think, I might go down your road again, with a slight detour. I use a 2-part epoxy called Plastic Weld... A LOT! I love this stuff... strong? Oh BOY is it strong! I'm thinking, that once cutting those half moons at the end of the tracks, I can add some of that epoxy to the ends of the tracks, leading down into the holes. Might be some work, but it should end up looking right. Most things look good in my head, till I try them out for real, LoL!! Some things you've done, I've had to make parts using alternative materials... just using materials I have at hand. I wouldn't even know where to find sintra anywhere near me. I live in a pretty small town. No craft or hobby stores anywhere near me (the closest would be an hour's drive away). The guys at my local hardware store love seeing me come in... "Whatcha making Mark?" Well... I am modifying a Stormtrooper Blaster toy! You could go your whole life and never hear that! hahaha Like you, I have ordered a 3-D printed cylinders and the three prong plug thingie, same day I ordered the Rubies.. still waiting for those parts. I have an old phone charger for vehicles, that might be the right thickness for the cords to connect the two. I won't know for sure until they arrive (anywhere from today to the 9th, according to eBay). The auction I ordered them from, includes a decal for the counter, and the scope.
-
Too late for you, but did you consider just carving off the existing T-tracks and adding after market ones? I'm considering it.. I'm not up to the stage you got with them yet. Just I see they are solid except for the top track. I know after market tracks would be too long, but that wouldn't TRUELY be an issue, one could trim them, as long as they go down in the holes it should be alright? Thoughts?
-
For my scope, I sacrificed an old pair of mini binoculars just for the lenses. You can't exactly see clearly thru the scope, but looks better than nothing!


