Jump to content

The5thHorseman

501st Member[501st]
  • Posts

    2,768
  • Joined

  • Last visited

  • Days Won

    16

Everything posted by The5thHorseman

  1. Trimming the thigh ammo pack is easy, just remove all the ABS above and below the boxes. About the rivets, they should be CAP rivets with a 7mm head (9/32th), but you can use your 5/16th split rivets to fasten it too, it won't prevent your application, even for Centurion. ---------
  2. 1. The inner half with the thumbprint on it goes on the left biceps. 2. Originally they weren't strapped together, however you can hang them from the shoulder bells with an ABS hook. But if you want to strap them with the shoulder bell for more safety, the easiest way is to glue a strap along the middle ridge of the shoulder bell and then to install a snap inside the biceps: Pictures courtesy of Stukatrooper Hope this helps!
  3. You seem to have a nice fit right now, but you're right the ear is a little thick. On the original helmets you can see that they were quite thin: The eyes look good. And the teeth seem in good way too. Perhaps they could be some more squared at the corners rather than rounded though, even if it's hard to tell on the picture. Keep up the great work!
  4. Direct screengrab from the film. Unarguable
  5. Installing a mesh behind your frown won't prevent any approval, from basic 501st to Centurion. And yes, a "s-trim" is just a trim with a "s" shape when viewed from profil .
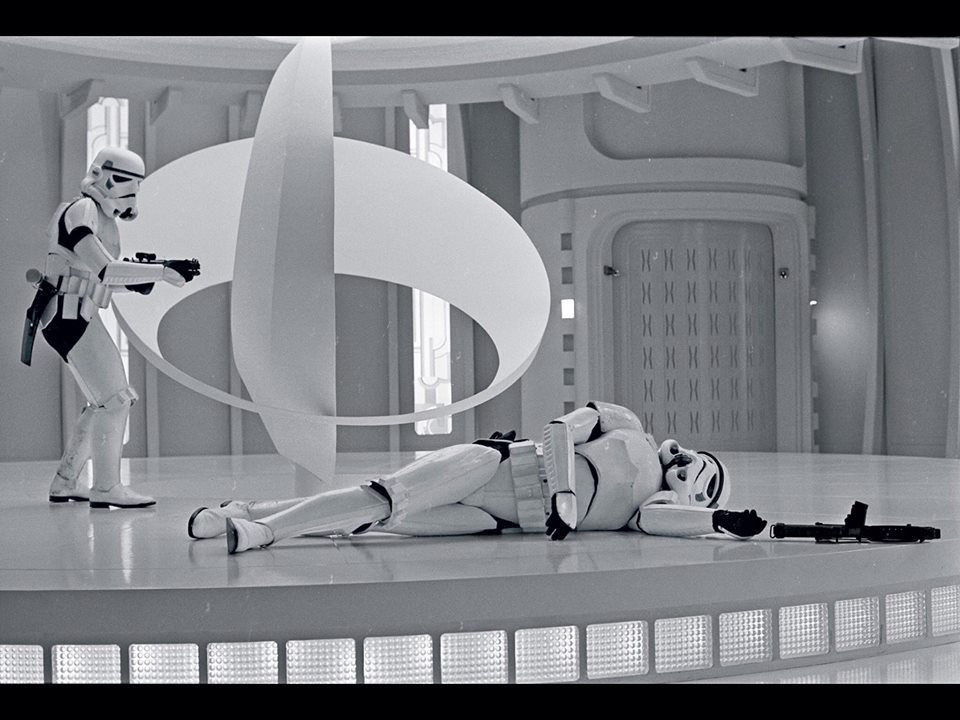
  6. Yeah, notching the back of the thighs and shins to ease the walk is perfectly fine, they did that too on the film:
  7. Don't worry it's find for me. Your pictures are well lighted and are very helpful to anyone who'd like to make his own mix.
  8. Damn, that's a beast!! This is just so... perfect. Makes me think that one of those day, people will confound this one with an original and try to sell it for thousands of quid. Is the new blue "Mediterranean Blue"?
  9. Actually it has never been a requirement for Centurion, it's better indeed but not compulsory .
  10. Anyway, ROTJ is made so at one point you can't really make the forearms smaller and specifically fit to your body. I'd say, make the front and back joints around 13-15mm wide and then just glue them. You'll have extra room but nothing that some padding won't be able to solve.
  11. On your picture, this is the outer of the thigh meaning this is the thigh that goes on the right leg. The section taped shouldn't conflict with your berries...
  12. Excellent. Very nice job on the helmet, and the overall armor fit is just like it should. Good luck with your application!
  13. Congratulations! And if someone was "putting a gun to my head" i would just trim the ab buttons again leaving the corners square, and i would move the end caps of the belt more towards the ends :
  14. Glad you decided to use 25mm cover stripes too. And the sniper knee plate looks ok, just be sure to have the ends of the wings cut in a vertical straight line.
  15. Freaking perfection here!!! Can't believe these are "Newey" snaps. So sweet ! Did you score those yourself or are they from TM?
  16. It's hard to tell without pictures of the pieces on you, but what you could do would be to create a new return edge at the top of the newly cut cod. It will increase your contact surface if you want to glue them back together (even though i don't see the interest of cutting them in the first place if you do so...), or help preventing the cod to get stuck under the ab section after you will have strapped them together. It will also reduce a bit the height of the whole and maybe allow you to make the ab section sit lower. If you do it, just be sure not to iron too much ABS for this return edge or you will end up with the "bikini cod" syndrome.
  17. I love the action shot! Great build, and nice work on the post-EIB modifications. They make quite a difference.
  18. Good job. Looks like you still have some return edge left at the wrist opening that can be removed if you ever want to aim for Centurion:
  19. One day you'll learn the ways of the Force too
  20. Congratulations Eric! And Manny, your new avatar is rocking .
  21. This build belongs so much to the Replica section... After each update, the level of accuracy involved in this build becomes more and more amazing. I can't wait to see the end result and hope you'll be pleased with it too .
  22. Yep, too long, too large :/. Is it found part or did you CNC it?
  23. I'm not Steve but i don't think it should hinder your EIB, nor Centurion btw. As long as the rivets are located on the 1/3 inferior of the belt it should be ok. See this guy, his rivets are more towards the back than yours currently are
  24. I would just cut the excess of ABS on this side, like that: Then do the same for the inner half. When you will glue the two parts together, remember that the outer half overlaps the inner half. And don't be too concerned if the flat sections aren't perfectly matching when you lay them one upon another, this is common as you can see on those pictures:
×
×
  • Create New...