-
Posts
826 -
Joined
-
Last visited
Content Type
Profiles
Forums
Gallery
Articles
Media Demo
Everything posted by riveting
-
It should work with any oven with a controlable heat setting, I don't have gas one either it's electric. Failing that you could try the boiling water route!
-
lid's & for sharing these
-
Thanks but I have tried it with all manner of things inc several spoon's & the little wooden handle was the best thing I found out of all of them, but I guess you can get similar reults with all manner of different objects, I just found that the handle worked for me for the end look I was after. A that fact the wood did'nt contuct any heat was just a bonus aswell! BTW for those trying this: If anything goes wrong first time around just bang the lenses back into the oven & re heat, any kink's will work out again as the plastic returns to it's original state. So you get to have as many goes to perfect to your preference, that includes excellent see through visabilty when looking head on, try it when you experiment when making the lenses.
-
Thanks Guy's I hope it's given some more options for folks making ANH Hero lenses too? It's also possible using this method to make a long strip with both lenses attached, thats if you want to miss out the measuring & cutting stage & or is lazy but you will need two small wooden file handles & a very long Cup for the cold water
-
Thanks they were each about seven hours in production from start to finish but thats not inc. sourcing the parts
-
repeate the process for the other eye socket & pop that into the lid aswell. here's a pic shot outside with a flash & here's the same minus the flash last one in doors with a flash close up please ignore the spelling <_< & grammer I hope you just enjoy the pic's
-
To save me from spending needless time hanging round for them to cool, remove them from the lid & throw them in a cup of cold water. this was an afterthought during the process, so I ditched the Tea & did'nt bother rinsing the cup out Once cool, about 30 sec's remove & look at the acute bends your handy work has created Now pop the lenses into the lid & glue, or however you want to stick them in there.
-
Pop the lenses ontop of the mount & bake for 5-6 min's, keeping a check on how they are bending over the mount. have the lid somewhere close by & ready for the insert. Check the lenses with some tweezer for the desired flexability & when happy quick as a flash take them out of the oven & pop them into the lid. to get the desired bubblyness I used a wooden file handle & exherting a small force push the lenses into the socket.
-
As I like a choice of colours to look through, I thought I'd have a go at making some bubbled lenses. Here's the lense strip that a couple of ppl here sell, AFIK using an old mrce lense as a rough template, mark out the desired shape & cut with a small hand saw Pre heat the oven to gas mark 140 make a rough mount for the lenses
-

Helmet Head Lining - Can't see
riveting replied to mrmedic0's topic in Hard Armor (General Discussion)
do you have any pic's Chris? & is it a hard hat liner thats in it? & you've fixed it too low down? -
Great stuff :tie:
-

Value of finished assembled suits?
riveting replied to rapstertee's topic in Hard Armor (General Discussion)
When deciding how much I will pay for armour, I tend to be more prepared to pay for a kit over a finshed suit. So my answer to "How much is the value of the labour and time invested" = it actually de-value's it like some of the guy's have already said, thats my thought's too -
Payers & thought's for You & your Mom William keep Staying strong mate
-
Hi Brad, I would'nt worry too much yet, it took well over a week to get my PP to show in my acc. so maybe it's early days?
-
Possibly so it's just a shame that it's in SmallFryTrooper's thread concerning a question about a rubies lid instead of being in the Armor and Helmets - General Discussion - Armor History section maybe you just have to get it where you can?
-
Sorry it was'nt much help Jason but I'm not sure there's a thread out there that give's a difinitive answer to your Q, at the end of the day it's just folk's giving their opinions on the topic! leaving you to make that judgement based on your own moral compass. were all theif's & scoundrel's to different degree's appologies for going OT. but back OT research is your friend when buying any Lid, FG or not
-
Hi Jason you might want to read through this, there's a bit of info on it. http://forum.whitearmor.net/index.php?showtopic=3743 To get back OT, there appears to be a few remark's about FG being poor lid's??? as I recall T*E did a run of FG SFS lid's I would'nt consider them to be inferior in any way. in fact I'd really like to own one.
-
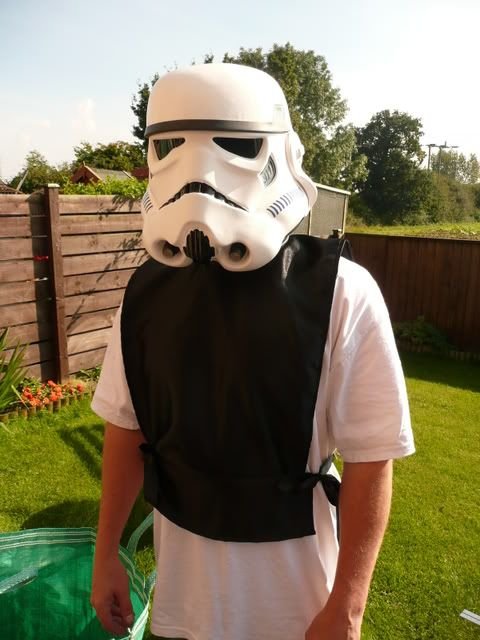
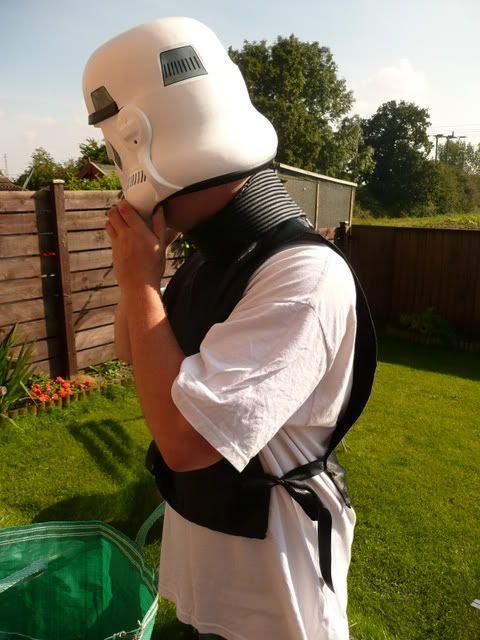
Now that you've removed the pin's next put the neck seal over your head tie the side tie's & get your lid Go out with a mean frown or your face & go trooping you might want to get some armor on as well?? finally for those wanting to buy one off these? here's your chance to join me in giving a little back to the forum. Buy this "it's for charidy" http://cgi.ebay.co.uk/ws/eBayISAPI.dll?Vie...E:IT&ih=006 item Number: 160285545864 thanks for your patience guy's, I hope it's been helpful? if not I'll pull the thread
-
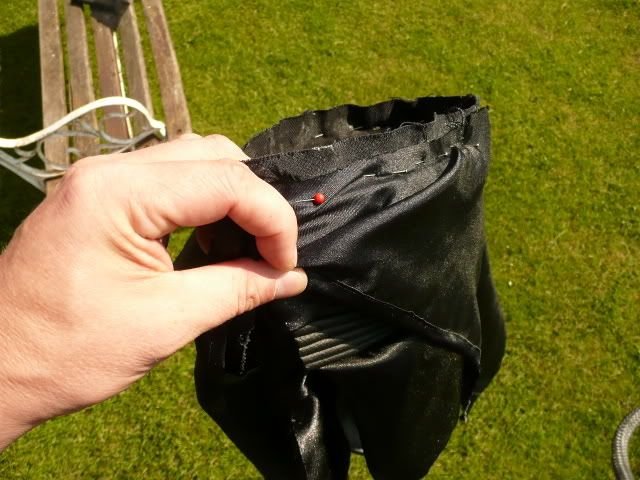
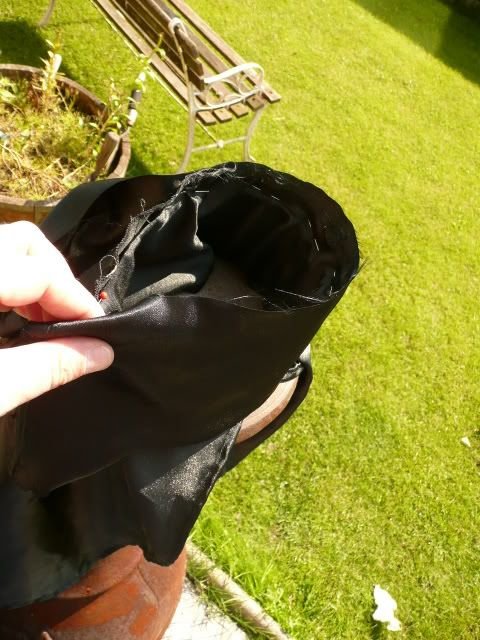
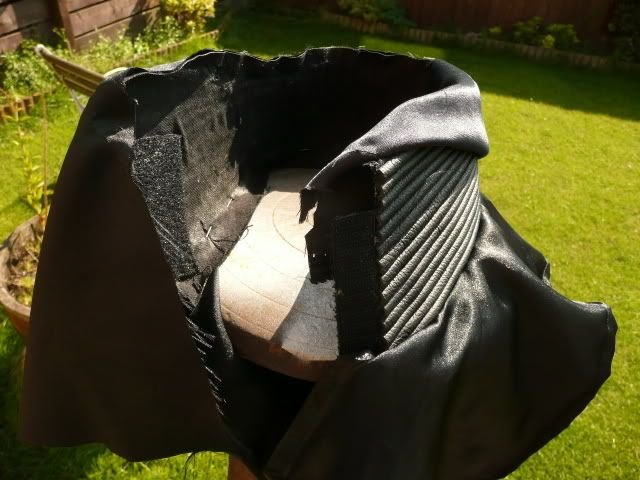
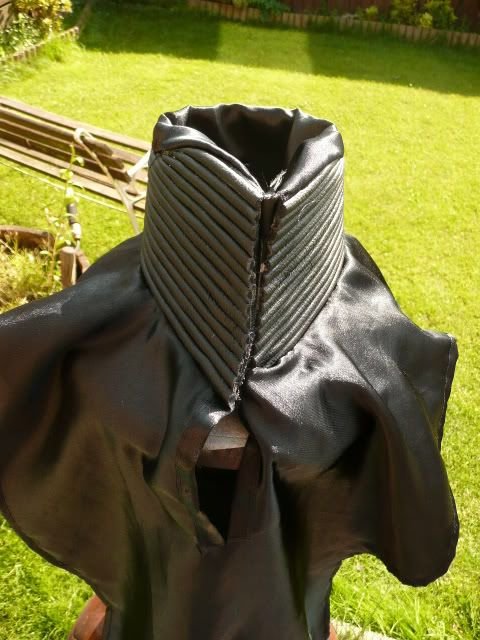
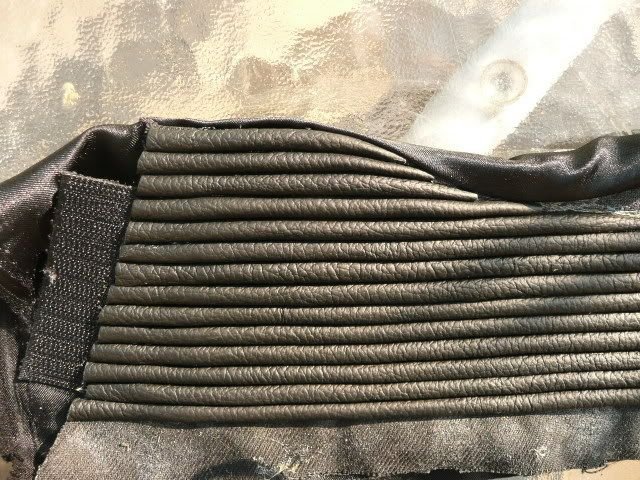
& finally turn the base of the neskseal upside down, take the bib & place that inside out & upside down. Pin the bib to the neckseal. here's a few pic's as it's not very easy to describe or take pic's of but you'l get the general jist of it. Flip the whole thing over, right way up & right way round Sew the liner to the base & bib (ergo =) sew's the bib to the base & liner at the bottom edge of the neckseal. Remove the pin's
-
Like the guy's have said New Half decent Jodhpur boot's & other riding boot's in that style are retailing for about $20 on the bay & you'l probably get them in your size.? Get yourself some white leather dye for a couple of buck's & thats close to sceen acurate for only a few buck's. just my 2 cents hope it helps --------
-
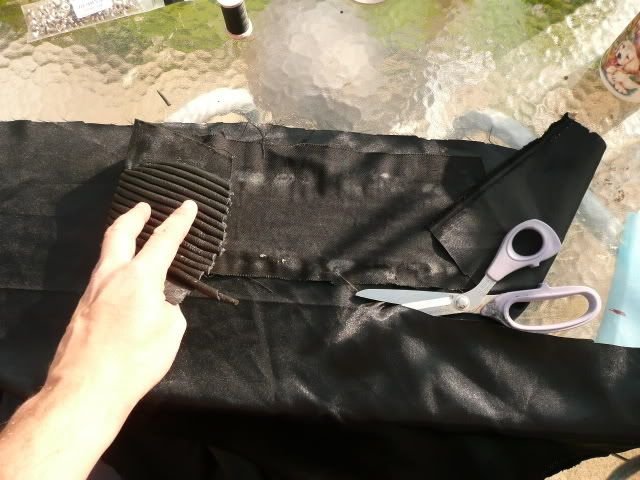
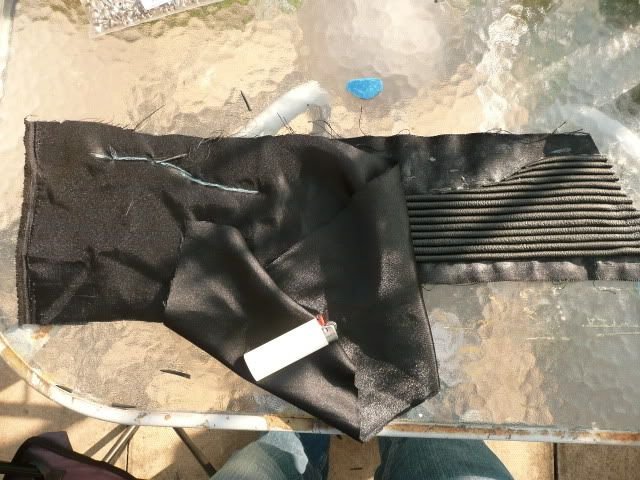
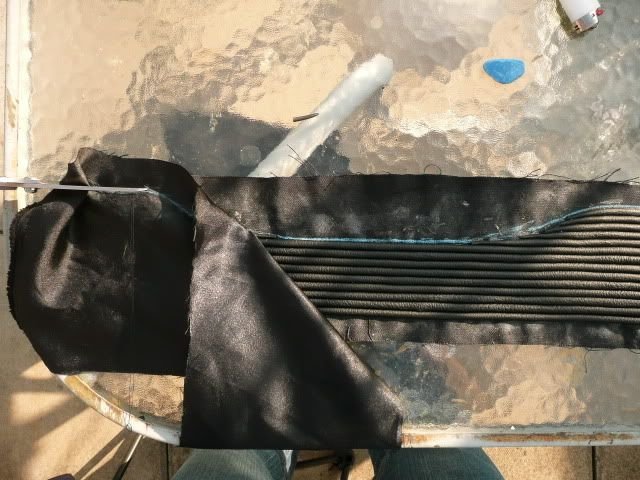
Back in the swing again OK So take the base & lay it over whatever slinky material your going to use for the liner & sizzors in hand cut a gerenous rectangle as pictured. flip them both over & having the nice side of the material facing the rib's & sew as close into the rib line as you can, don't have too wide a gap on the stitches as it will pucker ltr, the thin blue line is for demonstration purposes only once it's all been sew along the top (please ignore the fact that I hav'nt done as suggested, as I do this on machine for speed but I've had lot's of practice & it's very difficult to do if your only making one) cut all the excess material off. Don't cut into the stitching as it may mean starting from scratch I know flip them over again & this time let the material fall over the back & this is what it should resemble only a couple more pic's to go & I've finished, Yeah!!!
-
Hi All, for those following this thread I did'nt want to leave it hanging but I've been juggling too much stuff recently but this thread will be done by the end of tomorrow & the Auction will be listed on the weekend for the seal made. many thanks for your patience. BTW if any one want's to buy any of the neoprene cord I have left over just pm me it's £3.90 delivered anywhere for as much as you need to make your own seal, thats several meters to you & me it will arrive in one length ready for you to cut to size
-
if it was preventing me from total domination of the Galaxy... then yes


