-
Posts
4,043 -
Joined
-
Last visited
-
Days Won
23
Content Type
Profiles
Forums
Gallery
Articles
Media Demo
Everything posted by gazmosis
-
I think you might have that butt cap on a little far. The locking track ridge usually shows just slightly from under the butt cap
-

Split Rivets on McMaster Carr
gazmosis replied to LaserBrain99's topic in Assembly, Mods, and Painting
I already have two drawers full of them -

Which Neck Seal Do I Buy?
gazmosis replied to Seth Hendrix's topic in Boots, Soft Parts, and other Accessories
Neck seals are mostly up to the individual. Any neck seal with original sheen look you are going to pay a little more for. Trooperbays wait time(a couple weeks) is nothing. Remember that these items are not made by abig company. -

Split Rivets on McMaster Carr
gazmosis replied to LaserBrain99's topic in Assembly, Mods, and Painting
Actually, the fasteners that hold the thigh pack on are two piece speed rivets. They also have a slightly smaller diameter to the head. -

DF92 ATA Armor Build
gazmosis replied to Darth Fader 92's topic in Build Threads Requireing Maintenance
PICS!!! -

Walt's kids armor project.
gazmosis replied to gazmosis's topic in Build Threads Requireing Maintenance
DO IT!!!! IT is so worth it, Andy! -

Walt's kids armor project.
gazmosis replied to gazmosis's topic in Build Threads Requireing Maintenance
Sorry it has been a while, but forward progress has been made. Having never dealt with having to immerse parts in boiling water before, I assumed that if you over fold them, it would flex back out to the desired location. WRONG!!! It will stay exactly where you tie it off. As a result, I had to RE- immerse the parts to stretch them back out. Once all this goofing around was done, things went together well. I ended up deciding on 10MM cover strips for the arms, 15MM cover strips for the leg fronts, and 20MM for the leg backs.Assembly table maddness!!! The shoulder bridges needed to be trimmed right to the edges and immersed in hot water to be bent. I superglued a few small scraps of ABS under the front ribs to increase the gluing surface and E6000'ed them into place.The sniper plate was a challenge. Thank goodness for the heat iron! It finally went into place, though.I decided to do bicep hooks. I had to mount the one slightly off center due to the thumbprint and the return edge. There was no flat area that allowed it to be centered. I wanted to get back to the torso. I broke out the cloth belt and the waist belt. I put a slight curve on the plastic belt first, then went back and installed the snaps that hold it to the torso.I popped the belt back off, riveted the plastic belt into place, hung the two sided drop boxes, and installed the new rivet covers. This belt looks incredible!!I was working on another project that required me to have the ab colors out, so I went ahead and painted the ab buttons. All together and looking good!In finishing up the legs, I did come across something I thought might be looked into at a later time. The ammo or thigh pack did not wrap all the way around. as a result, it sits at a rather extreme upward angle. Maybe a change for future suits?The rest of the pics are just random armor parts. The shins splayed open in the back quite a bit when glued up. I tied and set them into a garbage can and poured to pots of boiling water over them. Learning from my first experience, they ended up sitting perfect. I am not even going to install retention straps or velcro unless it is really needed.All the strapping is in and all we are waiting on are the shoes from the UK and the neck seal from Darman. The next pics will be of this young man suited up!!! -
The one on the left is unacceptable. These are boots known as CABoots. They are a very shiny boot (and lovely smelling) But you can see the seam that runs from the top, front loop to the one that comes off the "U" shaped elastic on the side. The other boot is from TK boots. No seams anywhere on the boot front=acceptable
-
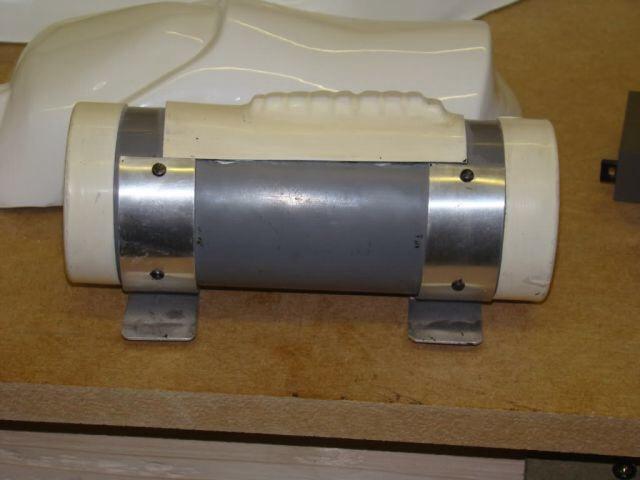
I don't know if you have fully assembled the thermal det yet, but the screws should be flat on the underside not tapered. Make sure the control panel has all the flashing removed. As for the screw locations, there are no measurements. Make an eyeball comparison to the reference pics available here.. Mark and drill the locations on your clips first. Position the clips on your detonator and mark onto the pipe.
-
Oooh, nom nom nom nom
-
Try a photo host like photobucket or flicker
-
There is no linear measurement. But as the diagram shows, you want the snaps on the ab piece to end up within the belt box when the belt is attached in its final resting place. You don;t have to do it this way, but this is how I have done it: Mark the center of your belt.(length and top to bottom. This will help you center the belt on the ab as well as be a reference point when you rivet your plastic belt to it. Lay the plastic belt on the canvas belt and lightly mark where the outer boxes sit. Lay the belt centered onto the ab. Mark onto the ab where your outer boxes are. Install the male snaps in those locations. Place the belt back onto the ab and press down onto ONE SNAP ONLY!!! When you press the belt onto the snap it will make a slight impression so when you lift it you can mark it with a pencil right in the center.. Install the female snap to that side. Snap that side down. Now you can pull the other side over tight against the ab to ensure that it doesn't droop. Repeat and done!
-
It looks like you're doing a great job so far! Keep in mind that there is no such thing as a helmet kit that has the face and cap go together like puzzle pieces. You just need to trim back the lower portion of both sides a little more. Be careful, though, on the left side(as you are looking at the helmet. The overlap can get very thin on that side. You need a little bit on the tube portion for a second joining location to prevent the halves from hinging. I would suggest using rivets rather than screws. Once you join the halves together, you want that to never move again.
-
Less is more! Well done, Sir!
-

Helmet dimensions - can someone please assist?
gazmosis replied to Oberon's topic in Hard Armor (General Discussion)
It sounds like you are of average build. Any armor for the exception of AP would suit you well. -
AH!!! I was always wondering why the joined side of the holster was facing forward!
-
Everything you are experiencing is normal when using a razor knife in ABS. I am glad you noticed this raised area! If it is not removed, the cover strip will have a problem fully contacting the surface. YOu can either remove it with the sandpaper or with the edge of the razor knife blade, Just hold it perpendicular to the edge and run it down.
-

Building a Scootch CAP-W bucket!
gazmosis replied to Tolo's topic in Build Threads Requireing Maintenance
Rock on, bro!!! -
Looks great to me, brother!
-

MTK Stormtrooper Sandtrooper Armor Star Wars Costume Prop
gazmosis replied to Haribon72's topic in eBay Armor
The resculpting of the biceps and the right forearm are LONG overdue. The left bicep is a mess and the right one has the thumbprint when it should not. Adam mentioned a few changes. He also re did the waist belt rivet covers to be accurate, he now has the kidney notches, and the extra material allows a trooper of almost a 40 inch waist to fit. Standard ATA shares most of these molds and can fit a 38 inch waist out of the box. It may be a bit snug but it can be done. -
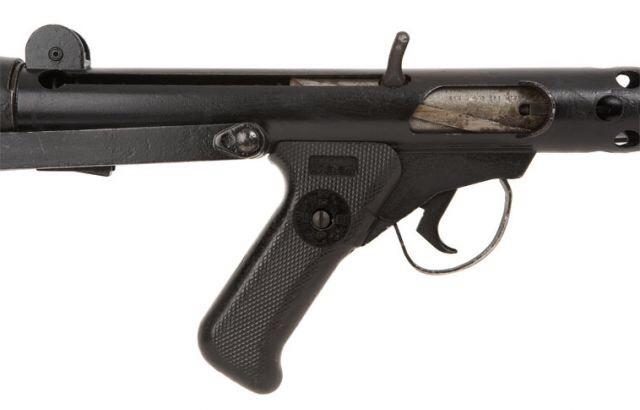
Very nice build. I like that dark gray color rather than just jet black. Adds character in my opinion. Three things that jump out at me, though, The t-tracks really need to be bent into the vent holes. You are missing a track on the ejector port side, and the rear foot of the scope should align with the hinge point on the folding stock. Great looking weapon, trooper!!!!
-

Building a Scootch CAP-W bucket!
gazmosis replied to Tolo's topic in Build Threads Requireing Maintenance
Was there a particular helmet you were looking to emulate? I just have never seen one with that amount of damage. It will really take shape with the details, however


