Leaderboard
Popular Content
Showing content with the highest reputation on 01/06/2024 in all areas
-
5 points
-
3 points
-
2 points
-
A little trip down memory lane… And maybe after a previous false start… To your stations!2 points
-
2 points
-
My friend used that and was cleared. Though It was a TON of work and he's now replacing it with a Denuo Novo vac form kit for comfort reasons. The helmet is also a bit fussy, and around 10% over sized. I've got one mostly printed. My friend modified a Black Series helmet instead. This isn't intended to tell you no, more just let you know what you are in for.2 points
-
2 points
-
Another easy CRL update. If we are serious, I can request the CRL unlock and make these basic changes over the next few days.2 points
-
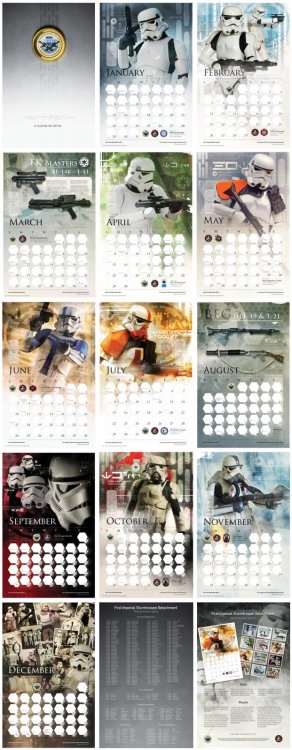
Sigh, makes me wish we'd do another calendar here. Still have my FISD calendar, and it's still amazingly good.2 points
-
2 points
-
1 point
-
I apologize if this has been brought up else where but does building a HWT require you to enlist it with the legion for a new TK ID? I'm sure some of you have it listed on your profiles and banners. Maybe I should look before asking Do their (HWT) IDs start with HWT or TK?1 point
-
1 point
-
I sure could use guidance, just got my leds and resistors, but they don't seem that bright to me. Have to take some pictures or make a drawing of the thrower, that will make more sense of what I am trying to achieve1 point
-
1 point
-
This is how it will look. The server hasn't updated yet, so can only see it in the Origin Wiki doc. Checked the Artillery, and it is the same template for the belt, so will be automatically the same.1 point
-
1 point
-
1 point
-
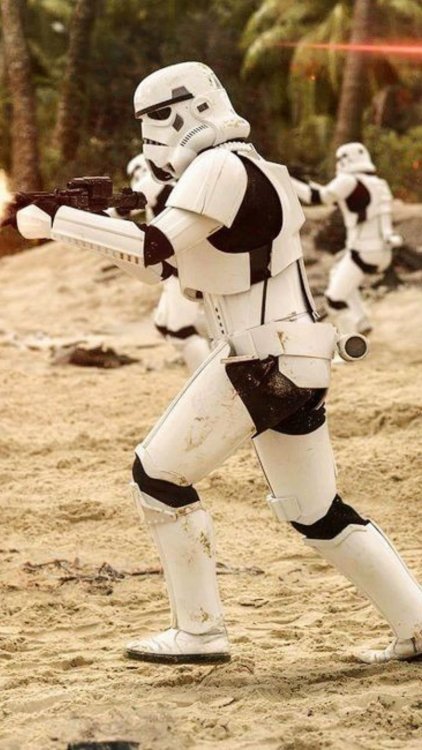
2 belt updates to be made at basic level would be as follows. The bottom edge of the front belt may run flat across the belt, or may be trimmed at an angle near the cod armor to match screen references. The belt overlaps on the sides Is there enough merit in moving this section from Lvl 3 to lvl 2? It's rare we ever have dimensions on a CRL because of the issues it can cause, so I understand why it sits at centurion. The front belt protrudes past all mounted ammunition boxes above and below by approximately ⅛"–¼" 3–6mm.1 point
-
1 point
-
1 point
-
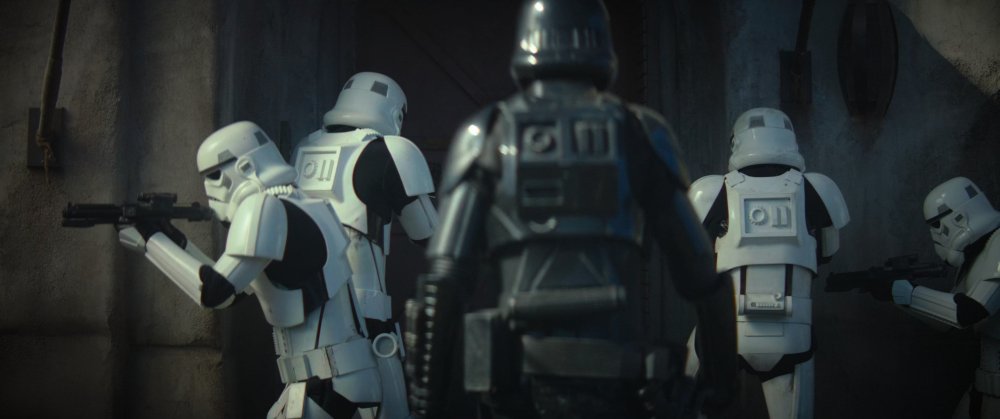
One other detail would be good to address, the overlapping of the belt on the sides, (when there not covered with gaffa tape). I believe there are enough references showing both back overlap front and front overlap back, shouldn't matter which way as long as it's closed CRL The back belt overlaps the front belt on the sides.1 point
-
1 point
-
If you want some guidance, a few of use here know our way round an LED and a microcontroller. If you want to really whole butt it, Neopixels are an option and would allow for animated lighting effects.1 point
-
1 point
-
FISD Backgrounds/Screen Savers have arrived! They are available to everyone, currently in the 1920x1080 format for desktop and 1280x1920 for mobile. To download the image, simply right click it and choose the option "Save image as...". Desktop FISD Backgrounds/Screen Savers (1920x1080): 1. 2. 3. From left to right: @Doggydoc, @Swoby, @Sithping, @Alikh and @scottdm62 4. From left to right: TK-66979 (Alan), @lugalleg, @revlimiter and @elwessbrandon Mobile FISD Backgrounds/Screen Savers (1280x1920): 1. 2. With Unquestioned Loyalty Jonatan Östling TK-23592 "Nairy" Content Editor Support1 point
-
And remember there is no RIGHT way, there is just the way that works for you1 point
-
The hacked apart Sony headphones I put in those pads have worked flawlessly for me since install. I'm about to do another set in my wife's TIE bucket. The isolated mics in the ears work amazingly well too. No squeaks or annoying noise. Just some wind noise if it happens to blow right in the holes.1 point
-
Because I have fans in my helmet, and this system is so amazingly sensitive, I put the mics as far away from the fans as I could get them. Not permanently mounted yet, but I’ve road-tested them here behind my chest plate and they work like a charm. I run corded headphones up under my neck seal so none of the system is mounted in the helmet, making it easy to remove. It also gives me easy access to the gain dial.1 point
-
This thread was a huge help to me while installing my SHA, so I thought I'd share my own mounting solution. I started out trying to fit a set of cheap Sony headphones in my bucket. They're model MDR-ZX110 if anyone is interested and about $20 from amazon. They mount on the ear instead of over the ear. I snipped off the over-head part and stuck on some velcro to hold them in place. The sony units did indeed fit, but I had to remove one (or BOTH! ugh) to put on or remove the helmet. Not too hard to do honestly. Just slide them up and then the velcro holds them in place. But this was unfortunately impossible to do while wearing armor. I just don't have that much arm articulation or finger dexterity with the plastic in the way. But omg, the sound from these things! Gloriously loud and very clear. So I sliced open some of my tactical armor pads. Each consists of three pieces - a fluffy open cell foam, a closed cell pad, and a sheet of vinyl. I hollowed out the closed cell pad for a headphone. PLEASEIGNORE THE ABOVE HEADPHONE. This was a cheap pillow speaker that didn't work nearly as nice as the ZX110. But it was a good proof of concept. Then I figured out that the Sony headphones could be unscrewed and disassembled. Each driver had two screws holding it in place. Removing it made these just slightly thicker than the pillow headphones. The padding got sliced up a bit more and the Sony drivers mounted inside. I put a healthy amount of gaffer tape over the back of each headphone to protect the delicate wires and everything else. I left the padded ear cups in place. This is my final helmet configuration. The ICOMM and amp live at the very top and are covered in fuzzy velcro. These act as pads at the top edge of my head and are actually comfortable. The SHA lives in the very back and gets covered by a neutered helmet pad. The headphones live inside those ear pads and fit perfectly. I can take the helmet on and off. It's a tight fit, but not a bad one. Fans and fan battery are mounted at the front. The battery lives inside the vocoder recess. Sound is amazing. With the SHA turned all the way up, I have much more acute hearing than without the bucket on. It's painful if there's a lot of noise nearby and I have to turn it down. With a bit of careful tuning, I was able to get the SHA to output basically normal hearing levels. Nothing's muffled or overly boosted. It's like not having my bucket on. Note: I was not able to achieve adequate volume with the pillow speakers. I needed these "big" Sony ones. But they kick out the volume. Well worth the effort to fit them. Posting the headphones first may be a bit backwards, but it was actually much more work for me to get the headphones working. Next up, the mics. Enormous thanks to @fishgoh0nk for all the info on mounting those mics, otherwise the headphones would not have been the hard part.1 point





.thumb.jpg.e24fa2f1b05735ddddb55fd2434d2a2e.jpg)
.thumb.jpg.0bc4f10eb376336f00bffc43b2685a1c.jpg)
.jpg.5633d38cb8b9ee5b8cf3acd7be8d8aac.jpg)
.jpg.9c6b334f82d0a492c02045321cb89404.jpg)
