Leaderboard
Popular Content
Showing content with the highest reputation on 01/04/2024 in all areas
-
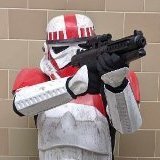
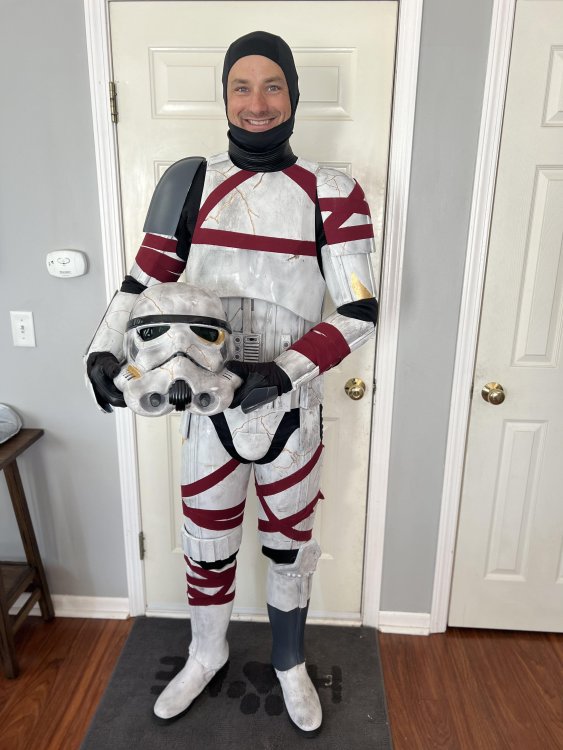
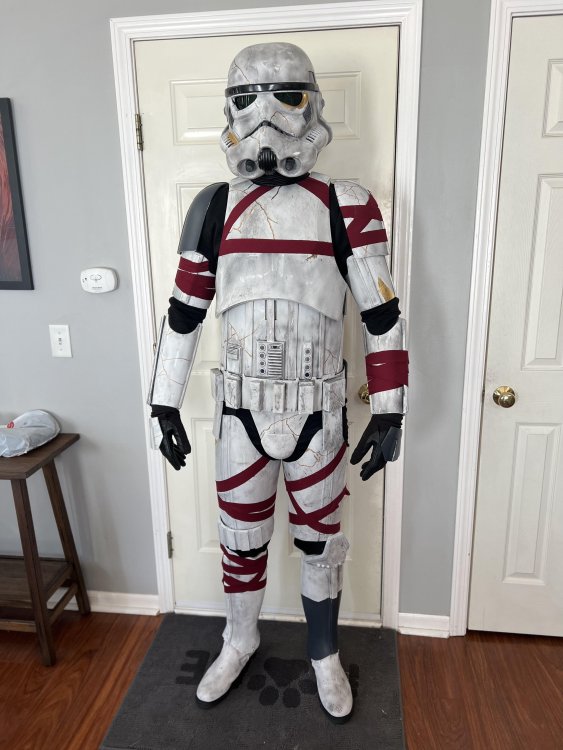
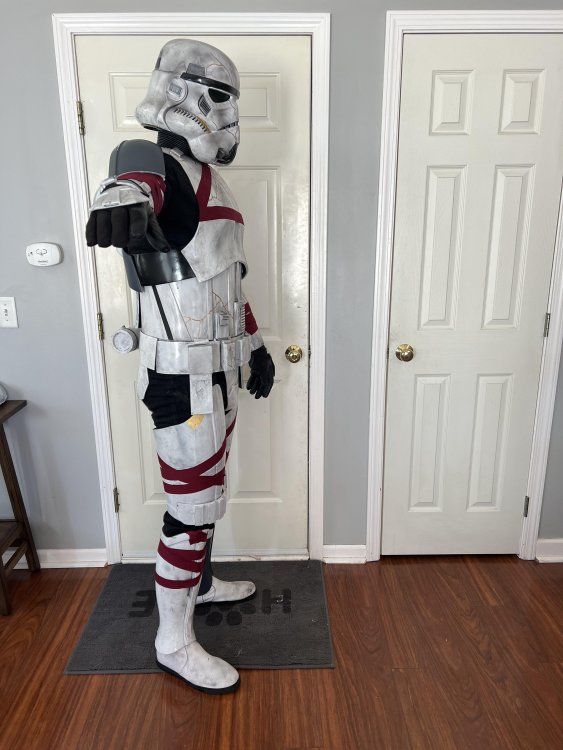
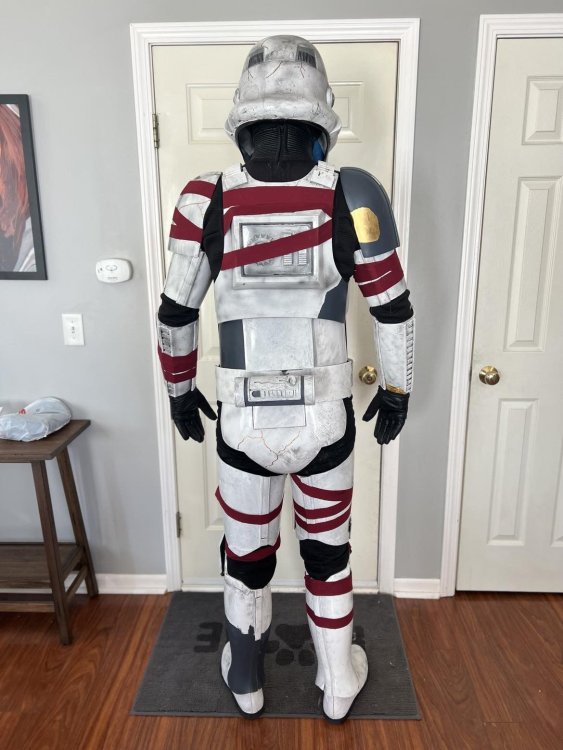
Ready to make the Emperor and Lord Vader proud as we defeat the rebel scum!2 points
-
Thank you!!! My first troop is in a couple of weeks! I'll also begin work on my next set of armor soon!2 points
-
2 points
-
A beautiful bucket, no doubt. TE is considered to be one of the most screen accurate helmets you can find, but this one needs a little love. Screen accurate Hovis can be purchased from DDD, and it looks like the face plate needs to come out a little more (a fairly easy fix). The tube stripes are a bit off and the brow and S-trim are missing, but again, replacements for those can be found at Trooperbay. This is a little piece of FISD history, and anyone willing to take the time to bring it up to snuff would have one awesome display piece! Unfortunately, I personally cannot give you an asking price.... it's worth what someone is willing to pay, but because of the work involved I would start it around the $250. mark. If you get no bids you can always drop the price, but you have to add in shipping as well (normally around $25.00 or so). If you can add a few photos (rear/left/right) it would increase your odds. Hope this helps!2 points
-
1 point
-
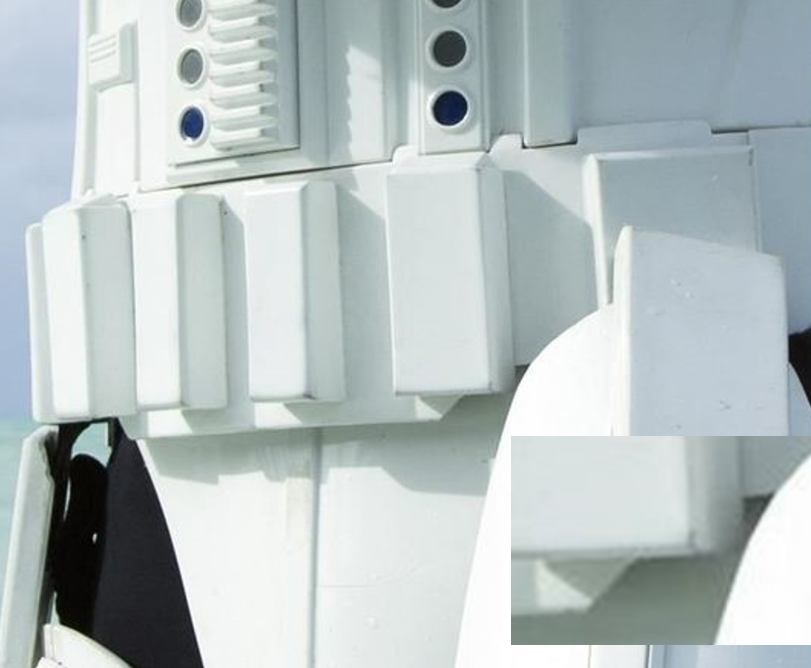
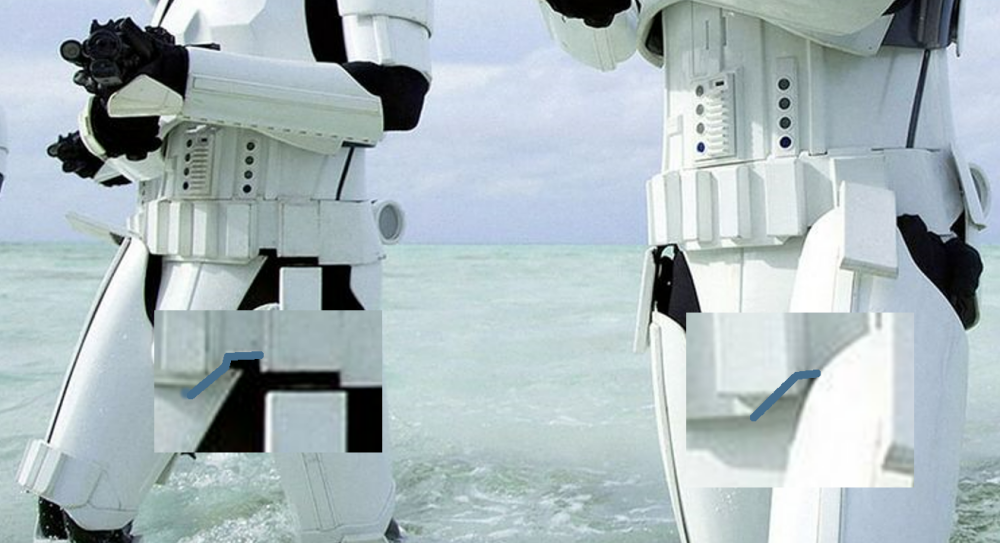
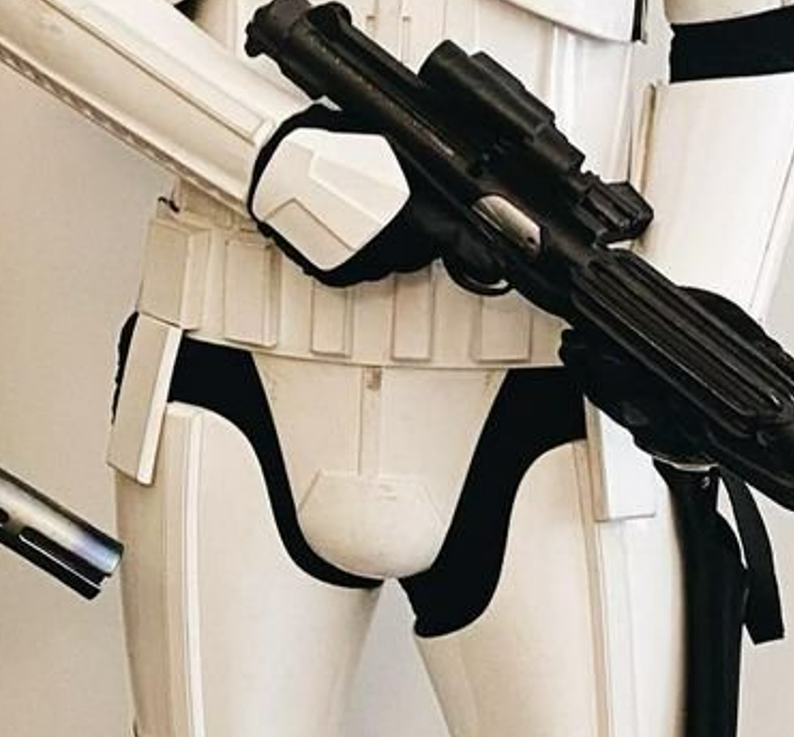
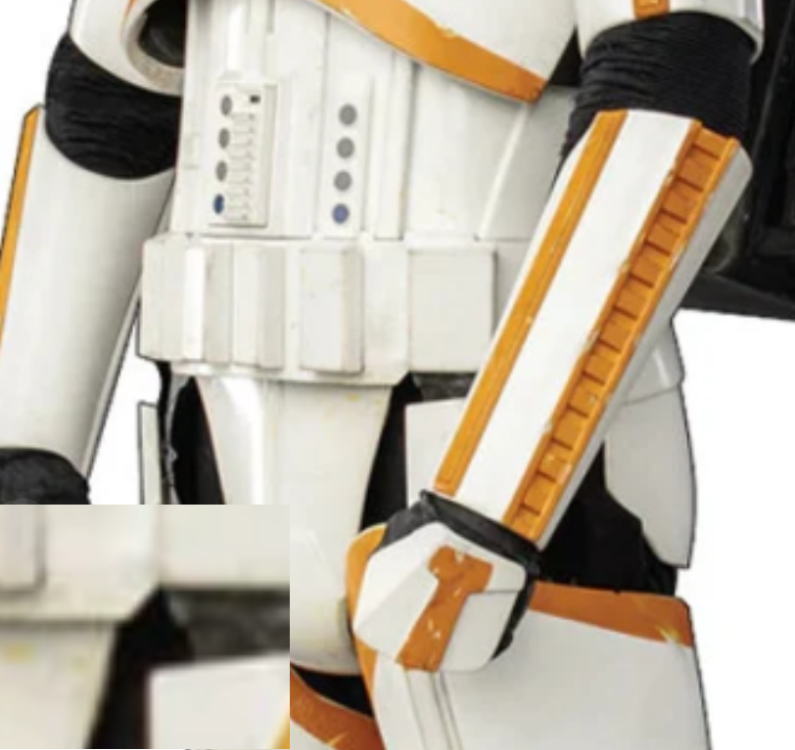
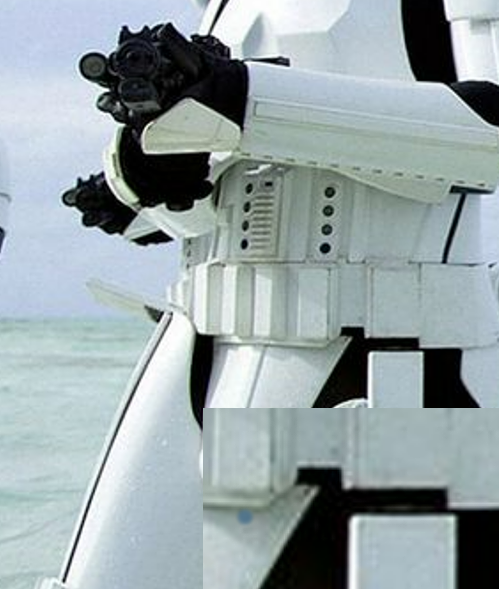
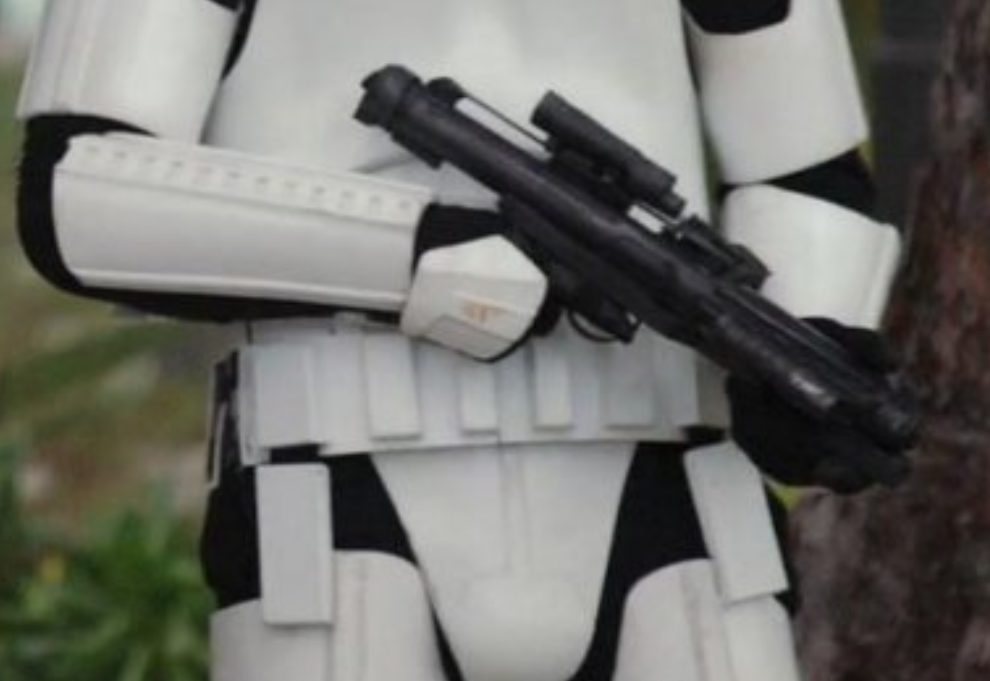
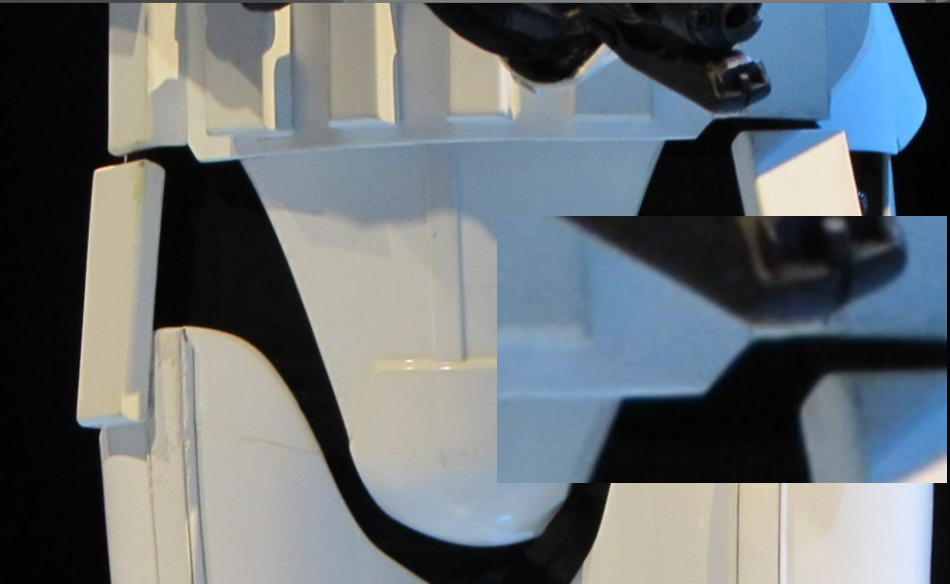
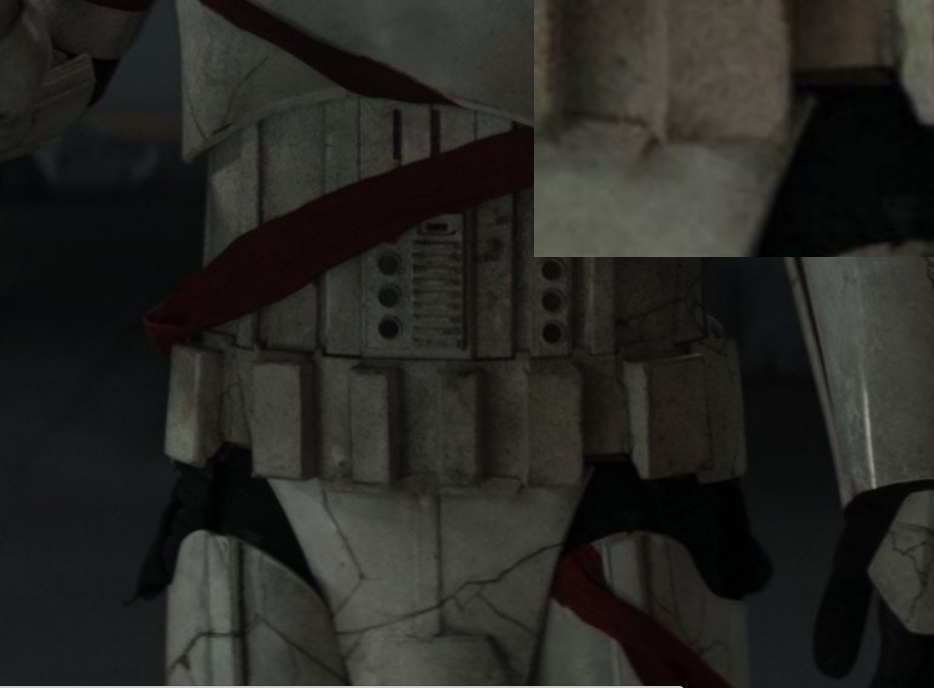
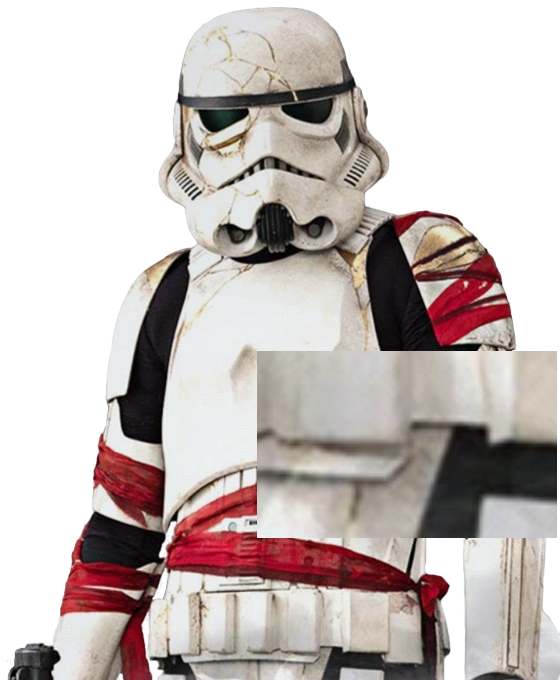
This subject has come up a few times with the RO / New Era armor and the belts, there is a standard belt and there are belts which have been trimmed to allow a little more movement (or because they have been broken). All of the angle cuts appear to be on the same angle although cut in different places. Standard, straight across bottom of belt Trimmed / Angle cut Even with the trimmed angle cut there are variants, trimmed in line of the corner of the second belt box, trimmed under the corner of second belt box, trimmed to meet the corner of the last belt box and trimmed on the inside of the second belt box Trimmed in line of the corner of the second belt box Under corner of second belt box Angle cut before the last belt box Trimmed on the inside of the second belt box So should some level of belt trimming be allowable in the CRL and for higher level acceptance?1 point
-
Delivery day (was Tuesday)! Same place but 2 things. First the main PCBs for my effects setup have come (top as the come all joined on 1 assembly, bottom with the daughter boards cut free) There is 1 small balls up, I somehow managed to delete the "mouse bites" before getting them made. These are a line of small holes that make snapping the 2 extra boards of simple, and tool free. I've added them back to the files now, just incase I need to make more. For now I just cut them of with some side cutters. I have the transistors, LEDS and most of the bit to build up a test board but I need to make a parts order for the resistors and a few spare bits. Seeing as January has approximately 8000 days I'll probably do that next month. For those who know a bit about electronics, I've opted to use SMD parts to keep things small as space is a premium. So here is a through hole version of the transistor, the kind I am used to and the SMD version. The exact same part, just a different "package" Small and fiddly is an understatement. At least SMD parts are a fair bit cheaper so I need not worry about parts costs. The other parts that came are the parts for the thigh bracket! These are 2 1mm Aluminium PCBs cut to match the printable ones. One change I have made is adding the 5mm holes to save having to drill for these. The spacing is 69m which should give a good fit in an R2Dan holster (once I get one). Again there was a small, irritating, balls up. The aluminium PCBs are single sided, so I assumed wrongly that if you ensure there is no copper on them you will get 2 clean aluminium sides. The reality is that the "copper" side has some kind of grey coating on it. Which on the rear most plate was the side I wanted on show. top to bottom : Grey PCB "top" side with poorly placed part number, Aluminium rear side with some text I added to say who made them, Aluminium face sanded with 240 and ruined, Aluminium face sanded with scotch bright probably close enough, Top plate with aluminium face side as expected. I also forgot to move the "part number" to a place it won't show once the fab house populates it. On my design it fit behind the front plate, on the final item it was longer so was on show. I have also fixed this and will probably order a new set at some point. No huge rush now as I will be able to prove the theory with these. To try make lemonade I tried to sand the printing off of the 1 aluminium side. I started with a 240 sand paper and this was FAR too aggressive. I then tried some scotchbrite. This mostly worked but has left some small and but visible scratches. Lastly I tried some 800 grit which seems to have worked, a couple of tiny scratches but you have to look to see them. Because I know they are there I will almost certainly order some more. I have already updated the production files to ensure they end up how I'd like them. As these come as 2 parts I need to assemble them. To do this, easily and get a good result I've made a jig. This is 3d printed to a close tolerance to help align everything. The bottom plate gets put in first, then apply a few keenly place dots of CA glue and pop the top on. Next is a compression plate and finally 2 5mm bolts go through the whole lot and ensure it's all aligned, and act as clamps while the glue dries. There are 2 nuts on the bottom side so it's all nice and robust. This will need to be done reasonably quickly, but I won't use accelerator so should be okay. With any luck I'll test this theory tomorrow but see how it goes.1 point
-
I think I remember seeing these now, though as you say it’s not some one doing a regular run. As I am feeling a bit extra I might see what a run of say 10 scope rings would run to, maybe the support bar thing too. The simpler parts with less machining steps.1 point
-
1 point
-
1 point
-
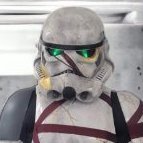
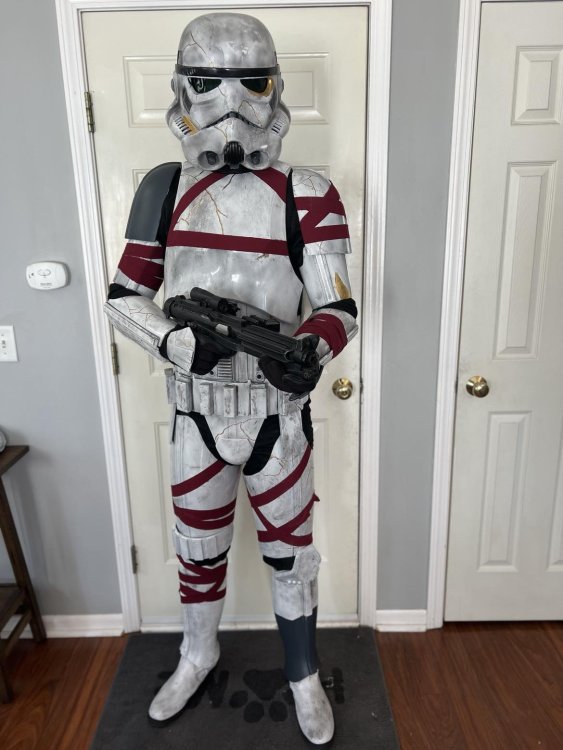
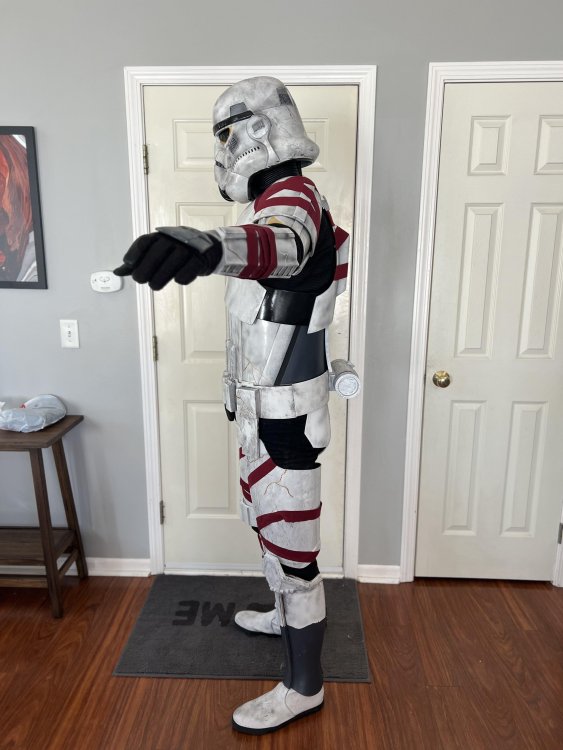
Congratulations Brian! You've got my dream kit! It has been a pleasure to follow along this project and finally see it completed, and most importantly that you're now ONE OF US! Welcome TK-47933!1 point
-
1 point
-
1 point
-
1 point
-
Perhaps a combination of brighter and dimmer LED's, again this can be controlled via resistors. You could also use an Arduino board and write some code to get it to flicker irregularly depending on how far you want to take it. Add a sound board, a speaker and a micro SD reader and add some funky flamethrower sounds even. Sky is the limit, like the work this member did in creating a set-up for his E-111 point
-
Well I am trying to give a "flame" look to that smoke, so kinda bright I reckon. But then it's not an industrial smoke machine either. I have picked up the ones recommended by gmrhodes, we shall see how that turns out Thanks again for the support guys !1 point
-
Way to go, Brian . Great to see that all the hard work you put into this has paid off! No matter how many you do, your first troop will always be memorable.1 point
-
Congratulations once again Brian and welcome to the legion. Looking forward to seeing some trooping photos in the not too distant future1 point
-
This Poll is now closed. Thank you to everyone who participated. The majority of votes were a positive to make changes allowing some more flexibility with First Order blasters per the descriptor explanation at the top of this thread. This will be taken into consideration and further discussions had regarding the potential changes.1 point
-
1 point
-
No, Chest and Back will be 3D printed, i think i will use files from Galactic Armory. I ordered only: Abs plate pair of thighs and shins pair of shoulders, biceps, forearms and handplates1 point
-
Thanks for the early feedback. In the last days i worked all over the printing lines, should be looking better now. Also i ordered a stormtrooper ribbed neckseal and all the rouge one tk armor parts from 850armorworks, that would be required.1 point
-
TK 47933 requesting access! https://www.501st.com/members/displaymemberdetails.php?userID=425071 point
-
1 point
-
Thanks for the super-detailed instructions My final parts are on the printer right now so soon it'll be time for building Do you happen to have a link to the flashlight? Cheers AW1 point
-
FISD Backgrounds/Screen Savers have arrived! They are available to everyone, currently in the 1920x1080 format for desktop and 1280x1920 for mobile. To download the image, simply right click it and choose the option "Save image as...". Desktop FISD Backgrounds/Screen Savers (1920x1080): 1. 2. 3. From left to right: @Doggydoc, @Swoby, @Sithping, @Alikh and @scottdm62 4. From left to right: TK-66979 (Alan), @lugalleg, @revlimiter and @elwessbrandon Mobile FISD Backgrounds/Screen Savers (1280x1920): 1. 2. With Unquestioned Loyalty Jonatan Östling TK-23592 "Nairy" Content Editor Support1 point
-
If I may, I shall add a little background to the story of EIB and Centurion wihtout going into all the explicit details. If we go back in time to the early days of the first produced fan armour "FX", it was all that was available so everyone sported FX armour. Later on some armour became available that had screen linage and molds were taken and more accurate armour produced. Expert infantry was introduced as a way to make FX armour a little more screen accurate than it was. If we move on in time and having more accurate armour available again, Centurion was introduced as a new higher level of accuracy. Think rivets paint colours snaps how the armour is trimmed etc etc. Now FISD has never had a problem with those that had EIB going the extra mile to achieve Centurion, those numbers are pretty good, but we still have very few that build TK armour making the minor difference and applying for EIB, considering the total number of TK's in the legion. Due to this, we offer more incentives for a member to want to build to the EI spec, be it the exclusive EI coin or the ability to build all our TK costumes to that next level and receive the additional stars for doing so. In recent times we introduced the March to 1000 campaign, yet another inducement that includes special merch in order to entice more troopers to step up and make the very easy changes required to meet the Expert Infantry level. There is much more to this story but I didn't want to create a TLDR post1 point

