Leaderboard
Popular Content
Showing content with the highest reputation on 11/12/2023 in all areas
-
4 points
-
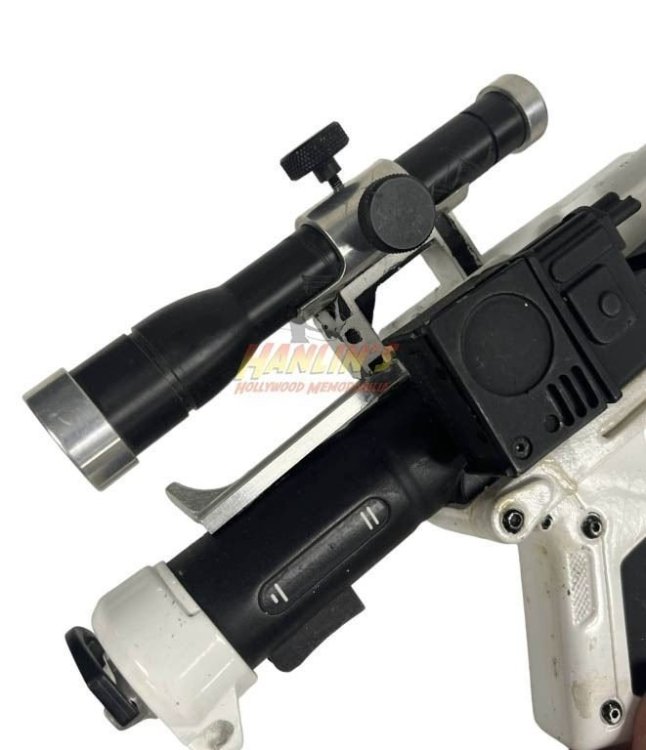
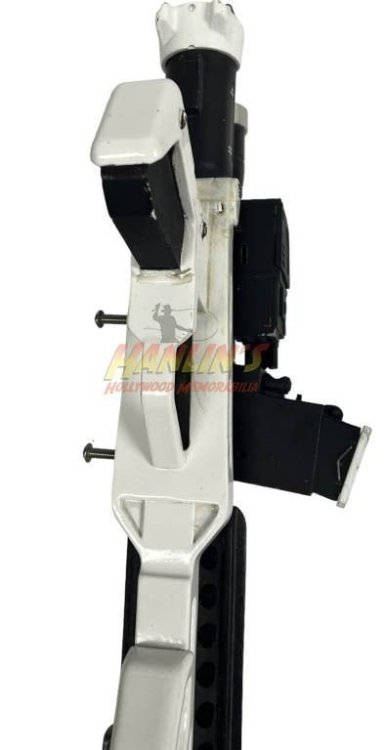
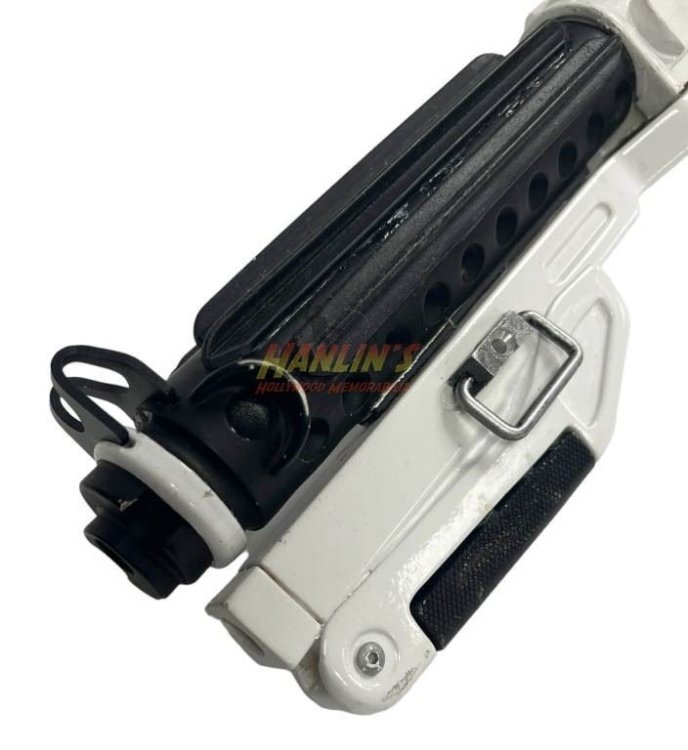
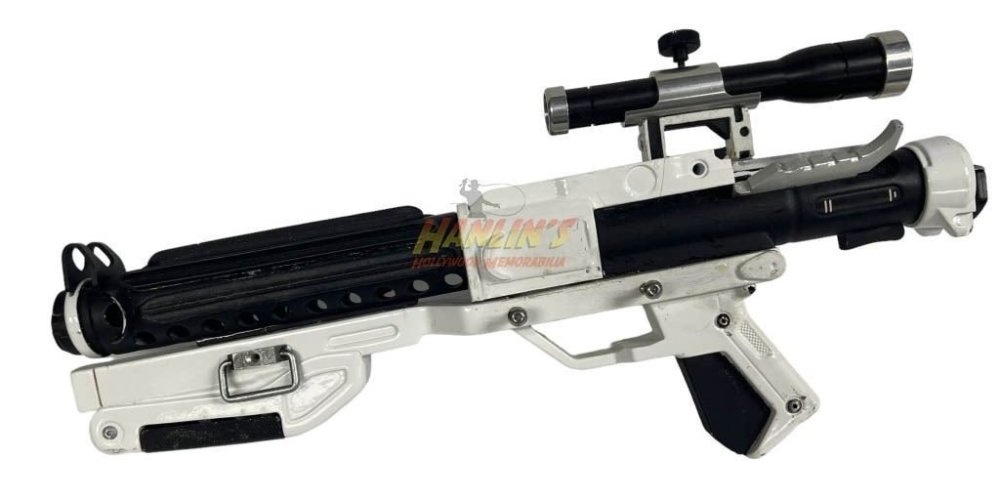
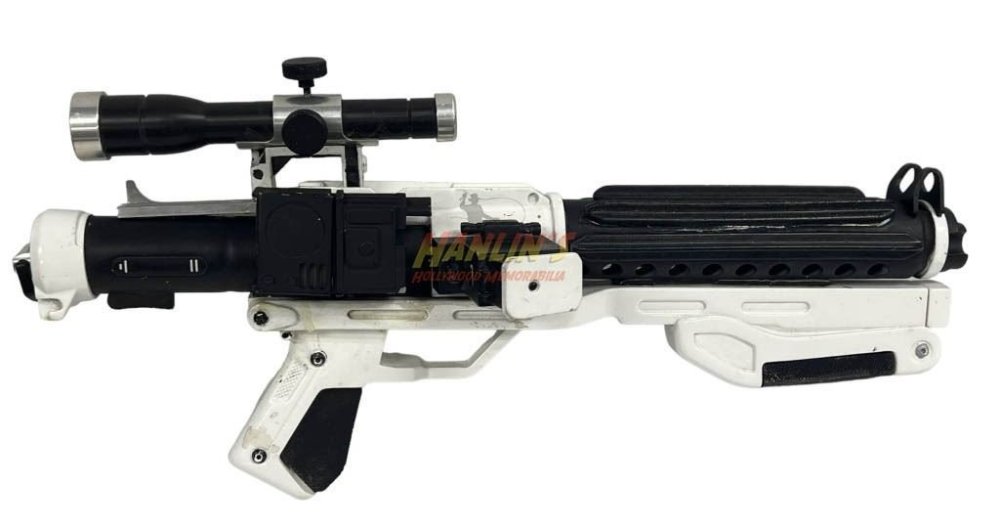
Before we proceed, you will notice that some pics show items that I installed at various times and seem out of order. The reason being is that I have been working on this over the course of a year, and some items were not photographed until after I had installed them. Missing/replacement parts: OK, so there were a few pieces missing from the puzzle which I will have to re-create. Being a pack-rat, I keep all manner of left-over bits and bobs as well as lots of ABS scraps, so it makes life easier when I need something. The front site interior was missing, so I had to make one. I cut quite a few ABS scraps to the general size, lightly sanded both sides of each and CA glued them together to get the thickness. Using needle files I carved out the bottom and gave it the general shape. After sanding and a little glazing putty I drilled out the holes for the site pin on top and the tiny grub screw on the left side. The site pin is just a machine screw cut off and the sides of the top filed down. Yeah, I know I didn't get the groove in the bottom 100% correct, but I needed the strength so it wouldn't snap. The inside bit of the rear site was missing, so back to the ABS scraps. 2 layers glued together and filed/sanded to size. Note the ridges on the back of the arcs (last pic). I wasn't happy with the shape and they didn't have any ridges (4th pic), so I filed them down to a more rounded shape and added the ridges with a file and added a tiny washer over the hole(s). Real Sterling ABS fix Installed/painted The cocking lever (below right) that came with it was metal but unfortunately was not the correct shape. I had an old Doopydoos one (below left) made of resin, but since that piece gets scratched a lot I made a silicone mold and cast one in solid black resin (lost the pic, but it will be shown later). For added strength I drilled out the center and added a screw, leaving half an inch sticking out on the bottom to secure it into the bolt. Two issues on the end of the shroud: 1. The front flash guard was not present. 2. There was an extra hole in the shroud. Ugh. If I would have installed the flash guard in the exact shape as the original, it would not have allowed the T-track to fit without leaving the hole open. I just wasn't up to the filling/sanding to cover the extra hole... sorry. Instead I used more ABS scraps to form a smaller guard with more of an arc. Some sanding, epoxy glue and paint and I think it turned out OK. T-tracks in last pic were temporary. The safety selector switch (first pic) caused me a boatload of problems. Not only was it the incorrect shape, but being a functioning item the base was imbedded in the grip area. (Face palm). To remove it I had to disassemble the entire grip and use a hacksaw to cut it off at the base. Once I got that done it was a matter of drilling out the remainder of the shaft to accommodate a new switch (pic 3). Side note- While I had the grip apart I sanded off the black paint under the interior mechanism below the switch. Back to sculpting a new switch using ABS. I make a silicone mold of the sculpt, cast it in black resin and added a screw inside for strength before installing it with epoxy (last pic). Next up, the bolt, grip screws and such...3 points
-
OK, folks, as mentioned in the title this will be my final (OT) E-11 build. Before I begin, let me give you a little background: This blaster was gifted to me by a dear friend who actually received it from a fellow trooper who has unfortunately passed on, and it needed some attention. The person who did the mods obviously had great intentions, but there were some issues which I have done my best to address. Keep in mind that during the time it was created it was a work of art, but with the advent of detailed screen caps and such I have tried my best to do it justice. Side note: I have been working on this for over a year off-and-on. Is it 100% screen accurate? Nope. After receiving it I dove into research on Airsoft E-11s, and found more than a few inconsistencies (mentioned later). I'm just doing my best to make it as close to screen accurate as I can, so bear with me.... Now, on with the show. This is how it looked when I started. Great in it's day, but just so many issues. 1. Copper tubing power cylinders 2. Wrong Selector switch 3. Shroud has a piece of black PVC glued inside. 4. Wrong muzzle. 5. Missing pieces on the magazine . I will have to strip it down to bare parts as best as I can. The first thing I had to do was remove the black PVC interior in the shroud, which was blocking all the holes. I drilled them out but it looked terrible. I ended up using a blow-torch to melt the PVC. It removed the interior as well as any chance of grass growing in my future patio area, but I am pleased with the results. Here comes the most difficult part. The previous builder had WELDED some sort of odd muzzle on, Sort of like an ESB, but not quite, so It's gotta' come off and be replaced. Ugh. The end of the shroud was not too pretty either. I cut off the muzzle and was left with this: To Be Continued!2 points
-
A friend with a welding torch managed to get the end of the muzzle removed from the shroud, and I filed down the inside. I purchased a metal replacement from the Blaster Factory and added a metal tube to simulate the interior barrel. After more filing and a few choice curse words, it fits! The magazine was missing the arc on the side and the metal post/grub screw. Some scrap ABS, a piece of an aluminum rod and a replacement screw did the trick.2 points
-
I used a heat gun. 1. From the front sides to the raised ridges, trying on a few shins I find these areas are the best to help twist. I didn't find much movement heating the rear sides. 2. Practice on scrap plastic, I can't say this enough, I have found you can go from just pliable to molten mess in the blink of an eye, try in stages, apply a little heat then try to twist, if it doesn't move try a little more heat. Some people have had success with hot water bath's and that may be worth a try first.1 point
-
I had to correct one, I decided to leave the sniper plate on then heat the front sides of the shins then twist and hold to cool, worked well.1 point
-
Awesome Joseph, looking forward to seeing this build come full circle.1 point
-
1 point
-
Enjoy your new banner @TikiTechie! And congrats on the new fine suit of armor!1 point
-
1 point
-
I've posted this elsewhere but I figured I'd also drop it here for anyone following this one. I was granted approved for FOTK at Basic level on Nov. 1. Thanks everyone who commented and reacted. I appreciate the support of this great community & forum. It helps a lot! Stay on target. For the First Order!1 point
-
1 point


