Leaderboard
Popular Content
Showing content with the highest reputation on 08/21/2023 in all areas
-
Good evening, Dear DO`s, thank you for your feedback. Please have benevolent look on my revised blaster again: Bye Troopers!4 points
-
The work continues, but a light can be seen at the end of the tunnel!3 points
-
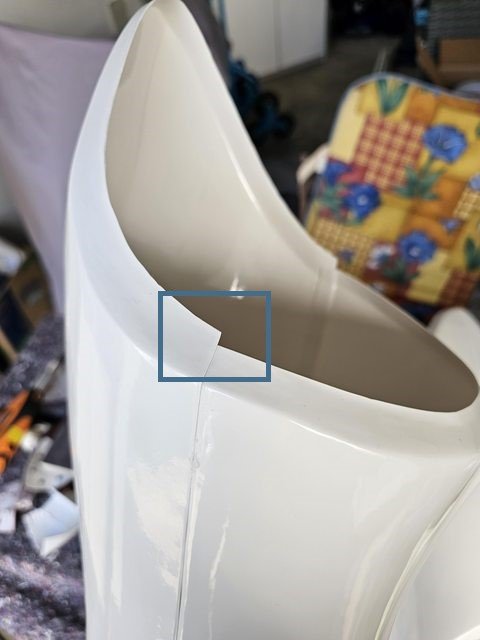
Oh yeah! That one is on the list to be trimmed and sanded again to create a smooth line instead of that big gap we got there right now. I got similar spots on the biceps and shins currently, too.2 points
-
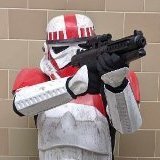
For The Empire!!! It was only after I changed out of my armor that I realized I forgot to wear my gloves... Oh well, the proper photo shoot will be at Indy PopCon next weekend!2 points
-
1 point
-
Glad to see you back at it again Chris. Looks like you are making progress again.1 point
-
1 point
-
Thank you both! Excited to build it and hopefully wear soon. There's an event on sunday and with a bit of luck it'll at least be wearable up until then. Not yet 501st approvable as i most likely lack the right shoes, but it's going to be a start. Used the helmet tutorials a bit, but certainly need to trim a bit more again. Didn't sit as flush yet. At the same time i am a bit afraid to trim too much, so i might help myself with a bit of white foam to make it less noticeable. Going to see. Did notice i might have to trim the eyes more, as they feel incredibly close to my eyelashes right now even withouth lenses in. Here's a little overview of what is assembled already and only needs some more trimming and sanding to fit together nicely. Aaand what was done in terms of helmet today. Experimented with brow height and general fitment. Got to admit, was scary at a few parts. And on one site the bottom screw doesn't grip both of the plates of the helmet's back and face. Ironically it was the same for the owner of the blog i am mostly following the steps of, so i suppose it'll be alright. Was rather careful with trimming that whole thing.1 point
-
Yes, I spoke to him today, and he approves based on what he sees. But I would like level 3. I am not sure why... lol. But I would. I am Kansas City now.1 point
-
Awesome job Christian and definitely de ladies have a better sight ! "they see everything " Pura Vida!1 point
-
Apologies if this has already been previously posted, but just in case you haven't seen it, the image below can be helpful. Additionally, below is the whole strapping section from the resource thread I compiled. Strapping Systems Rivet Setting 101 by justjoseph63 (Print PDF) Snap Setting 101 by justjoseph63 (Print PDF) Snap Setting Hardware Solutions by TheRascalKing E6000 and Snaps Discussion by Harbinger, Snap Options by ukswrath Snaps with Rivet Heads by TheSwede Split Rivet Placement by DroidHunter How to Use a Rivet Tool by huttman How to Make Snap Plates by stukatrooper Elastic ABS Reinforcement by Cricket Magnetic Shin Closures by Cricket (Print PDF) Magnetic Shin Closures (supplement) by Zugor Alternate Magnetic Shin Closures by OddViking327 Types of Inner Strapping by Shinyarmour1 Internal Strapping by justjoseph63, nrgband RascalSnaps by TheRascalKing Thigh Garter System by Pencap510 Making Thigh Garters by Spectre Bicep Hooks by Pyrates and Brent Shin stabilization by Cricket and themaninthesuitcase1 point
-
1 point
-
1 point
-
1 point
-
1 point
-
Making good progress Dale, the helmet has come together very nicely.1 point
-
1 point
-
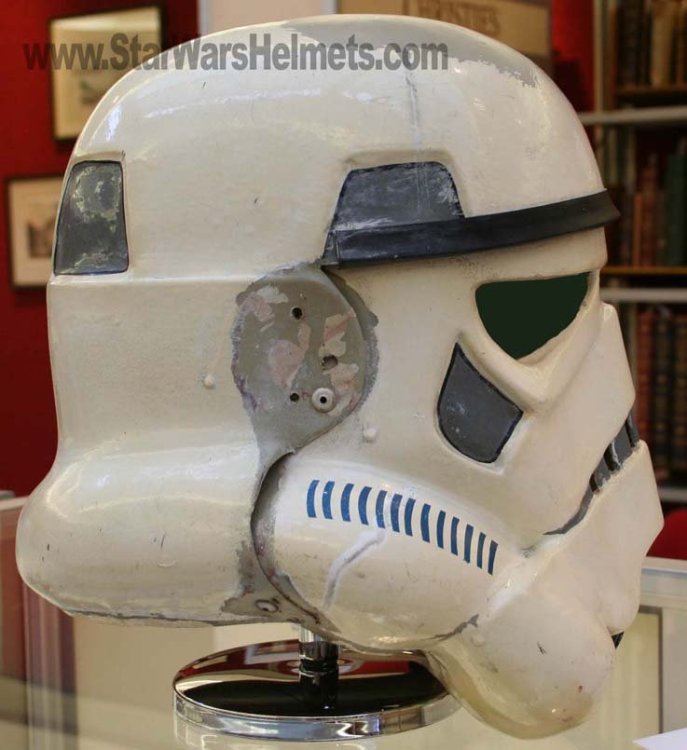
Hopefully these will help The "ideal" ear placement is as seen below, where the screws line up with the rear angle of the trap right above it. Because some armorers design their helmets differently or send them pre-assembled this is not always possible to achieve, but it is suggested that you try to get as close as you can. Note: Top ear screws should ideally be located directly below the rear of the trap.1 point
-
Thanks Alikh, I just read your request thread. I just worked all parts over, sanded them and painted it again. After drying overnight I hope to be closer to my final goal. Seems that the CRL was changed a few months ago in relation to 3D blasters… Please press all thumbs for me!1 point
-
Hi Christian. About the TD, you nailed it! However, the Blaster still has too many visible print lines.1 point
-
Good Afternoon @TKSpartan Mario, with a little help from my loyal to the empire staying wife ;-) on my back, we corrected the position of the TD on my belt. So please have a look on these following pictures: Greetings to Costa Rica!1 point
-
1 point
-
(whilst looking for memes to commemorate it, I found this one and cry-laughed) THANK YOU!!!!!!!!!!!1 point
-
DON'T USE PAINT THINNER it will melt the plastic (thinners and scrap plastic is how we make ABS paste ). Normally a toothpick and mineral spirits does the job for me, any stubborn areas I cut a pieces of scrap plastic so it has a sharp edge then use that to scrape off the excess, some times you do need to use some polish to remove any smudge.1 point
-
Thank you guys. I've missed you all so, so much. I, too, am looking forward to getting back to some of the fun stuff! Like a potential Everglades Squad photo shoot *in the actual Everglades*. I'm currently accepting bets on how many of us get eaten by gators. Any takers?1 point
-
1 point
-
Way to go, Joe! No matter how many troops you do in the future, you will never forget the first time you put on that bucket and stepped out into public.. Awesome set of armor there, by the way! If I remember correctly, you said back in July of last year that you would be submitting for EI.. I'm going to hold you to that! (Hint hint, wink wink, nudge nudge).1 point

