Leaderboard
Popular Content
Showing content with the highest reputation on 07/18/2023 in all areas
-
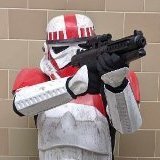
Greetings all, It gives me great pleasure to announce the newest CRL for FISD and the Legion! The Artillery Stormtrooper as seen in the series The Mandalorian today has the green light form the LMO office and is live and ready to use. I would like to thank Honeymustard TK-22540 (Logan Hole) of the Wisconsin Garrison for his epic work and research and assistance is helping us bring this CRL to fruition. A new to Legion and legion first. Congratulations Logan, your hard work has paid off. Costuming:ArtilleryTrooper - Databank (501st.com)5 points
-
2 points
-
Pretty much all of the elastic is at different lengths, it's a case of working out the gaps using tape then considering any tightness needed in the elastic to close pieces like AB/Kidney. Many double snap which helps if one snap fails.2 points
-
1 point
-
I do as they can fray pretty badly, run them across a gas stove top or use a lighter, or soldering iron, once hot press on a piece of board/wood.1 point
-
"Bitten by the bug" happens to many of us, not uncommon to be waiting for shipping of parts for 1, 2 or even 3 costumes, albeit my recent activity was more props for convention displays so waiting for a lot of electronics, but I still have 2 BBB sitting in the wings for when things get quiet 10th year anniversary in the legion last December and still my interest has not diminished, "thank the maker"1 point
-
It's always refreshing to read such enthusiastic you are. As you rightly say " one step at a time" once you finish your armor , as many of us have done, another costume comes to mind ! It's a never ending story. Keep up the enthusiasm and great work !1 point
-
1 point
-
1 point
-
1 point
-
1 point
-
Good move to deeply consider everything before making any adjustments Chris. Mine are merely suggestions for the symmetry of the costume, looks like the CRL model had similar issues and indeed could be they way the armour was formed, a little oversized in some areas.1 point
-
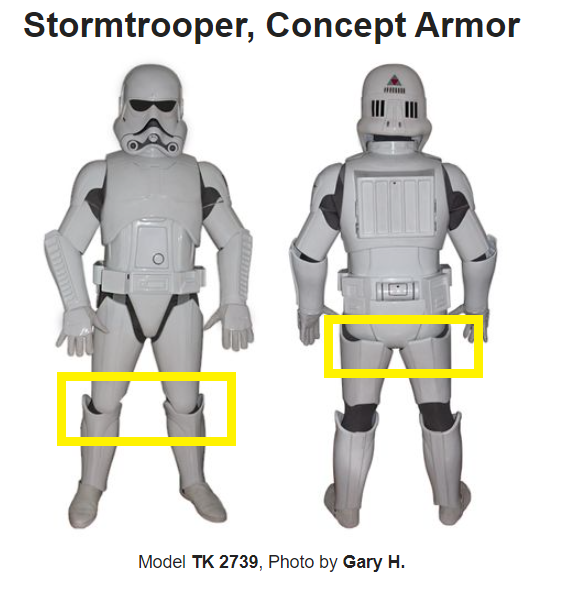
Good feedback. Might have to dig about a bit to see the best method for achieving these. I'd say the thighs are a little roomy, but probably not much room to take in? I'll have a closer look and see how much space could be saved. It will be a matter of taking a wedge out of the side and re-closing/filling/re-painting. No mentions anywhere on size or requirements of return edges, so that's going to be left to interpretation. As for the shins, I do agree with you Sly, I did build to the standard build lines on the armor, I'm unsure really how far I could pull them in without losing any of the factory details as the way that these are made there is not much room for modification. I could definitely reduce the width of the rear closure, which will pull them in somewhat, that's really the only place on the shin to be able to remove material, will definitely be able to reduce the total diameter but wouldn't be enough to bring into line with the bottom thickness of the thigh, and closing the thighs up more will exaggerate this. https://databank.501st.com/databank/File:Stormtrooper_Concept_Shins.jpg This will take some thinking, don't want to rush into cutting the parts until I can get a vision of the end result. I have much more of a gap between the bottom of the Knees and top of the Shin, would love to have them sit with a small gap like the reference photo, I have room to move the whole thigh piece down, which the ab/kidney plate could come down more provided I can get the butt plate to come in with the cod strap fixed. Again no mention of return edges, so the sizing I have is the makers size, and if no return edges are needed I can definitely cut a bit into the buttplate to give some more room, but as it sits at the moment, there is the issue the ab could come down, but currently the kidney could not. Worst case, I could take like a half inch or so strip off the top of the buttplate to help raise it up and create a smaller total buttplate leaving a slight return edge on the bottom side, but can look at that after I get a cod strap fitted and see how it looks.1 point
-
I really like it the way it is now, but it also helps to have someone more experienced provide similar feedback! I appreciate that!1 point
-
i was just going from what the website said. glad i asked that will help narrow down the search. thanks for the reply.1 point
-
The thighs do look like they have some girth at the top you could trim down to fit which also would help them sit in from the but plate. If we also look at the original sketches and the action figure we can see the taper at the bottom of the thighs and at the top of the shins is very close to the same width. You could also trim your shins to more closely resemble this look where currently the top of the shins are wider than the bottom of the thighs.1 point
-
Looking good. I would however try to bring the helmet down a little, remove some padding if youcan. Adding the cod strap with help to prevent your posterior pushing backwards Also should help the gap between the posterior and your thighs, if not you may need to trim them a little so you aren't hitting when you walk.1 point
-
1 point
-
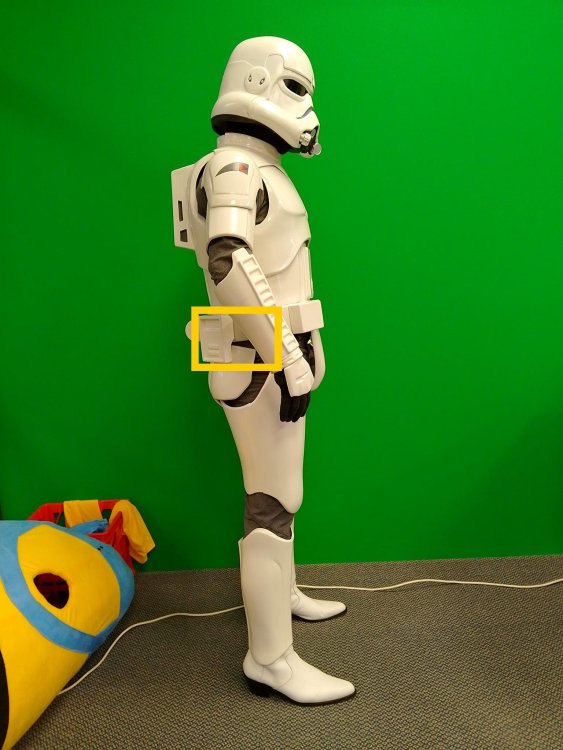
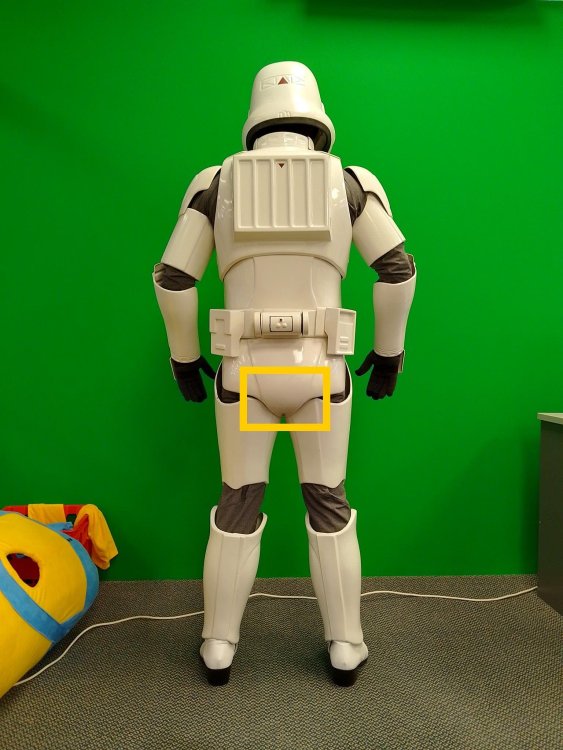
Some actual decent photos to make a list of what needs adjusting before submitting, but welcome feedback too! 1) Change straps to grey. I made these black initially for two reasons. First was, some of the original action figures actually had black under suits, and given I already had an abundance of black webbing and elastic plus an existing black under suit from my OT TK (IMO Should be an option in the CRL). Second was that the original under suits that the original crew used were Nike sportswear which has been out of production for years, and getting a grey under suit was near impossible (it took me years of looking before I stumbled on the one I currently have, and the quality is not great so I cant imagine it's going to last long!) 2) Paint grey detail under arm (between chest and back armor) and on belt (looking face on, left of center belt box small square needs to be painted grey) 3) Add Cod strap 4) Source more accurate boot (+ paint sole white/grey. not in CRL but should be added if CRL updated) 5) Under suit on legs could be better fitted. 6) Feedback from detachment on detail on back of helmet. There is an indented triangle pattern, and as the build/ assembly thread on the concept forums were never quite completed on this helmet variant, seems open to interpretation as to whether should be painted. I'd suggest they're painted black, but would prefer to clarify with detachment. 7) Neck ring/ yoke was initially designed to be separate from the chest piece, then was later updated in Kevs build thread on the RMQ forums in a comment that he changed the design slightly, and suggested glue to chest piece and where connects to shoulders to attach via Velcro. I'm going to glue the two together with E6000 and see how it wears (hopefully sits better and gets rid of the gap between the Yoke and Chest plate) and if no issues, can glue more permanently later. 8) Belt boxes are off in the picture, the initial build instructions showed one connector to fix the box to the belt but that leaves too much movement, so looking to add a second connector on the inside to stop them being able to twist while wearing. 9) Run strapping to the biceps to allow consistent height1 point
-
Hey here are the shots of my 5. troop - at Outpost One again1 point
-
Mocked up how I might glue the snaps and straps on. I’ll probably space them out a little further than in the photo below, but just wanted to check to see if this looks good. I also wanted to ask, since I’m not drilling holes into the return edge for the classic strapping method, should I trim the return edges more or leave them as is? I was also wondering, even though I’m using snaps and elastics, should I be putting screws or rivets in for aesthetic purposes? Thanks for all the help y’all!1 point
-
1 point
-
ようこそ、日本語フォーラムへ‼️ 私はエピソード4(新たなる希望)のスタントタイプのストームトルーパーで、FISDのレベル3(センチュリオン)を獲得しています。 質問はお気軽にどうぞ。1 point
-
Looks like there's a pretty big difference in color of your belt to the rest of the armor. There are some definite differences like the TKC, one considerably is the thigh ammo strip which is not curved on the lower end it's straight and also positioned above the lower thigh ridge not attached on the ridge. Your shoulder bells appear to be open quite a lot on the front you may want to reduce this gap by attaching the straps further forward on the shoulder straps. No large tabs on the shoulder bridges also but that's a higher level requirement. I think you will find it will really come down to what the LMO team believe is game related and what can be achieved in real life armor. Looking forward to the progress.1 point
-
Okay, here are some close ups of the stands after equipping them with E-11 blasters. Below is the small fat stand. And here the slim wide one (looks better in my opinion). The top view shows the different dimensions and positions on the base: While one stand was meant to sit on the bottom of the large cabinet, the second stand required a shelf to rest on. Another MDF board seemed a bit simple to me, so I added two drawers, which I had found at work and painted them. These are perfect for smaller things like scopes and my counters. And this is what it now looks like with everything in there: Enjoy your weekend.1 point


