Leaderboard
Popular Content
Showing content with the highest reputation on 04/28/2023 in all areas
-
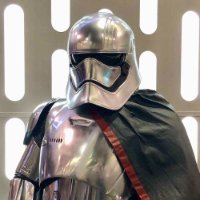
Thank you!! Great advice! Today will be the BIG DAY! Im bringing my armor to the vendor who is going to add on the spectra chrome. They will also do all preparations for it, in total they will give the armor 7 layers (primer to topcoat) to make it supershiny. They will take care of the inside of the costume as well. I will post pictures when I have the kit back.3 points
-
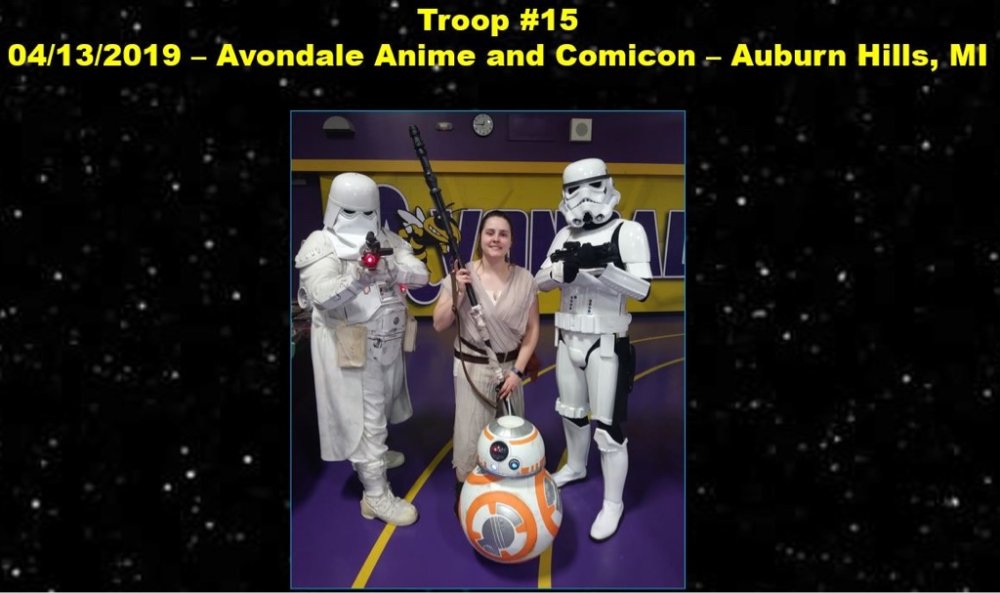
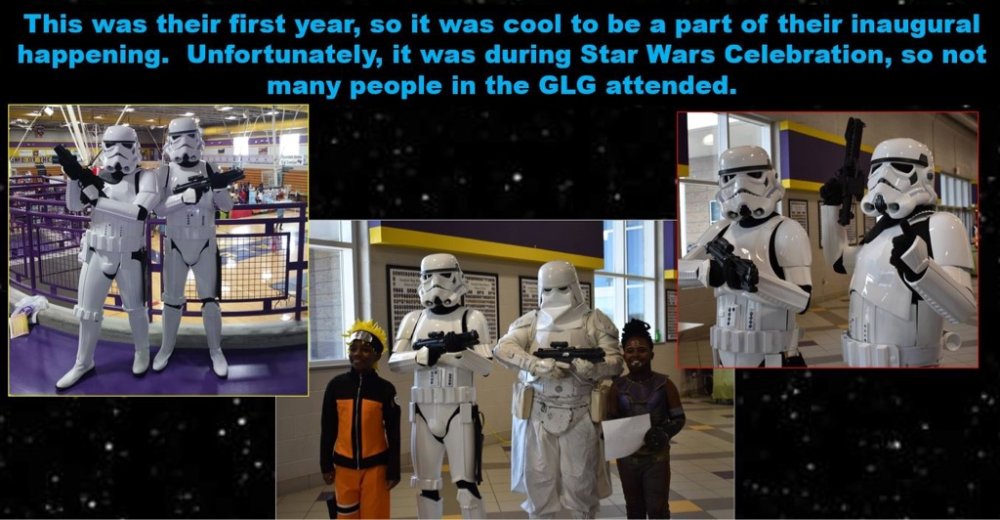
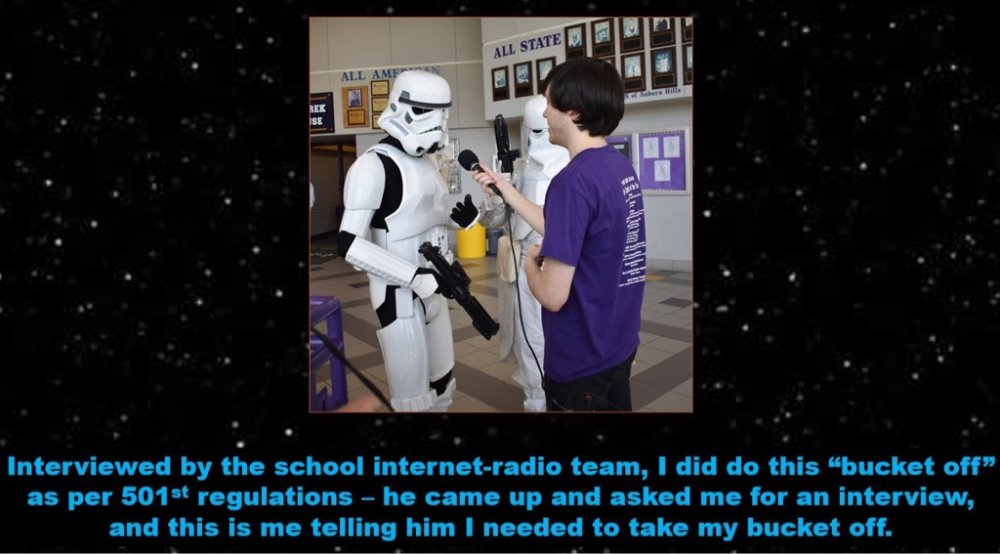
This was the first Con they tried at this school. Bad timing, up against Star Wars Celebration not far, far away from us in the Detroit area (Celebration was in Chicago that year, during this Con’s weekend). Then Covid cancelled the next one. I’ve since moved out of state, so not sure how they’ve gotten along since. Sent from my iPhone using Tapatalk3 points
-
Looks pretty good to me, I'm sure our @Deployment Officer Team will jump in with a comment2 points
-
***WIP*** 25. Shin "Kit-Kat" Assembly After prepping and painting your white of choice, it'll be time to attach the resin "kit-kat" accents that go on the LEFT, outer shin. NOTE that the holes on the included template ARE WRONG, DO NOT USE THEM. But you can still use the template to get the kit-kats positioned correctly on the paper, then poke new holes with a pencil into the predrilled recesses on the parts. Then use the template to drill out those NEW holes on your shin armor. You'll note that this is step 25 and comes before shin assembly, as I learned that this is much easier to do BEFORE gluing the two halves together, and had to use a phillips bit with a ratchet to screw them down, after adding a few drops of CA to the faces and kicking with NCF Quick. 26. Shin Assembly Let's build a shin. I'll try to take some additional photos in the future, but trim your two legs out, overlap them, and glue them together, using the clip recess as your guide for alignment and spacing. I used E6000, clamps, painter's tape, and a whole bunch of n52 Neodymium magnets. It's a prestigious award.2 points
-
2 points
-
Shins! Wanted to do a twist on the magnetic closure by @Cricket. I did this on my OTTK, but was always concerned that the magnets didn't have enough hold on the plastic. This time I am enclosing the magnets in plastic with a larger flange for more surface area. Drilled the holes Magnets on the outer shin Inside view, plenty of room Tight closure2 points
-
1 point
-
I have been working on some small thing today. I had an old Anovos TD that I thought could work. I have the plastic ATA pieces, but no clips or cylinder. I think I may have mess up a little in the Anovos one. Good thing is I can always try to build the ATA one later. I cut out one of the forearms. Looking for advice. Does it look ok? Trying to follow the RS props YouTube videos that MaskedVengeance sent.1 point
-
****WIP 23 Thigh Holster Assembly 24. Thigh Assembly1 point
-
1 point
-
As Kyle rightly pointed, the forearms opening "big enough to get your wrist through" , you put the globes after not before the armor. Some references to see the proportional. Keep up the good work !1 point
-
Sniper knee is staying without issue! Any chance I can get some feedback on my alignment? I am trying to build with level 3 in mind and wanted to make sure the level 2 requirements were met. OPTIONAL Level two certification (if applicable): Sniper knee plate must be aligned with the ridges on the shin. Sniper knee plate must not have visible rivets or fasteners attaching it to the shin. Edit: Looking at it closer, I can see that the sides need to be glued down a bit more. I can do that after the positioning is confirmed.* *Bonus 3d printed Darth Revan mask in the background1 point
-
1 point
-
Mannn, there are a million different brands of ABS-specific glues and bonding agents, so there's no 100% "right" answer for this, and the one you linked might work great! Many of the products you're going to hear suggested in here are suggested because they are easy to find for most people and have worked consistently well for builders when used correctly in specific situations. Doesn't mean something else won't work even better - it just might not be tried and true. Everyone has their favorite brand from personal experience as well. Same as to what glue to use overall - you just have to look at the different variables and figure out what you need from that bond and what glue is right for the situation. Most of the time, this info is on the product label or can be found online, but you gotta be thinking about things like: - How long does it take to bond? - What type of materials is it made to bond? - How strong is the bond (psi?)? - Will the bond remain flexible? - What viscosity is it and will it run, spread, or craze? - How much product is required and are runs or seepage removable/easy to clean? - Is the bond reversible or removable, or permanent? - What color is it once dry and does it cause discoloration or damage paint? - Is it sandable or gap-filling? - Does it expand or produce heat that may cause warping? - Does it require clamping or a catalyst? - Is it a single or two-part you mix and how is it dispensed? - How does it age? Does it become brittle or weaken over time? I'm decently into this as a hobby but am not an expert by any means, and I still probably have 10-15 different types of glue in my drawer (but use 3-4 regularly). You may not be able to check every single requirement box with the products you have available, but it may be worth buying a new product, or seeing if you are able to compromise to make it work. But that being said, since we're talking DN FOTKs and we're both based in California (glue, like paint, can be regional) - I've mostly been using E6000 (I like the medium size tubes with the pointed tip) on the overlapped areas of the arms and legs where they will need to remain flexible. In areas where I am adding ABS slurry to fill seams (shoulders and ab sides), I wanted the pieces to be a little more rigid and not flex much or ever come apart, to avoid potentially cracking the slurried areas. I used a 2-part Loctite plastic bonder, but I'm not sure I would recommend it due to the color and seepage, but in general it wasn't bad and produced a strong, pretty stiff bond. I put down a couple strips of tape on my bench, then dispensed and mixed/applied it with a small popsicle stick. To apply the greeblie clips and such, I used Satellite City CA Hot Stuff Special T and kicked it with NCF Quick with positive results. Hope that helps!1 point
-
Personally I'd stick with E6000, easy to pry apart if you need to make changes (sizing up or sizing down) which is very useful if you do sell in the future. Make sure you rough up both areas you are gluing with some coarse sandpaper before applying glue, gives the glue something to bond too. Most parts not under strain leave dry for 24 hours, any parts under any strain leave 48 - 72 hours.1 point
-
I’d say E6000 for the whole armor. It’s what I’ve used and it’s very strong when it cures for what you need. The risk you run with “permanent” bonds is if you ever need to or want to make adjustments it’s a nightmare. With how strong e6000 is in general you should be fine using it for the entirety of the gluing portion of your armor. Sent from my iPad using Tapatalk1 point
-
Thanks! Those pictures helped and I believe I was able to get the correct alignment and made me remember I had strong clamps.1 point
-
1 point
-
Welcome back, Adam! I can definitely related on the family obligations and such, and I too had an elongated journey to get to this point. I, too, have ATA armor, and really loved building it. Obviously you're not new to this hobby, having already previously built a TK, but here are some links that you may find helpful in your revisiting of research. https://www.whitearmor.net/forum/topic/49412-all-in-one-tk-anh-stunt-index-of-resources-by-maskedvengeance/ And here is my yet unfinished ATA thread that may still be of use to you. https://www.whitearmor.net/forum/topic/48337-mvs-anh-tk-stunt-ata-1st-build-thread-for-centurion/ And finally, as far as video tutorials are concerns, I really like the series that RS Props did, which contains far more information than what Mike from Trooperbay did. Here's a link to the RS video playlist. https://youtube.com/playlist?list=PLylZBXOeIZgnM256-WdjM5oMLygc-_4pZ Looking forward to seeing you complete your ATA kit!1 point
-
#20 Event: Star Wars In Concert (The Empire Strikes Back) Date: 2023-04-14 Place: Scandinavium, Göteborg1 point
-
Nice to have another Phasma among the ranks! Looking forward to updates1 point
-
Hi Laura, welcome to FISD! Awesome to see another Phasma under constructions, best of luck with your build.1 point


