Leaderboard
Popular Content
Showing content with the highest reputation on 04/10/2023 in all areas
-
2 points
-
I had the same problem and rigged up suspenders and they work very well2 points
-
1 point
-
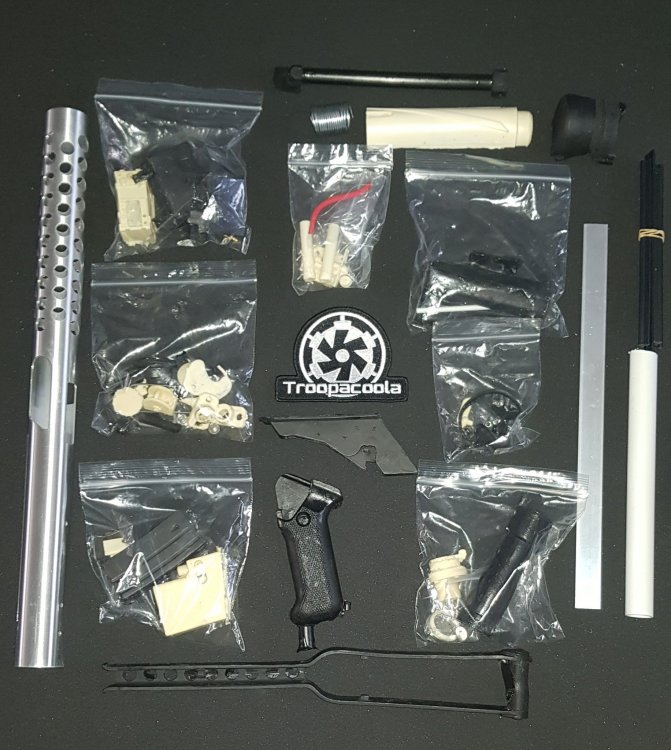
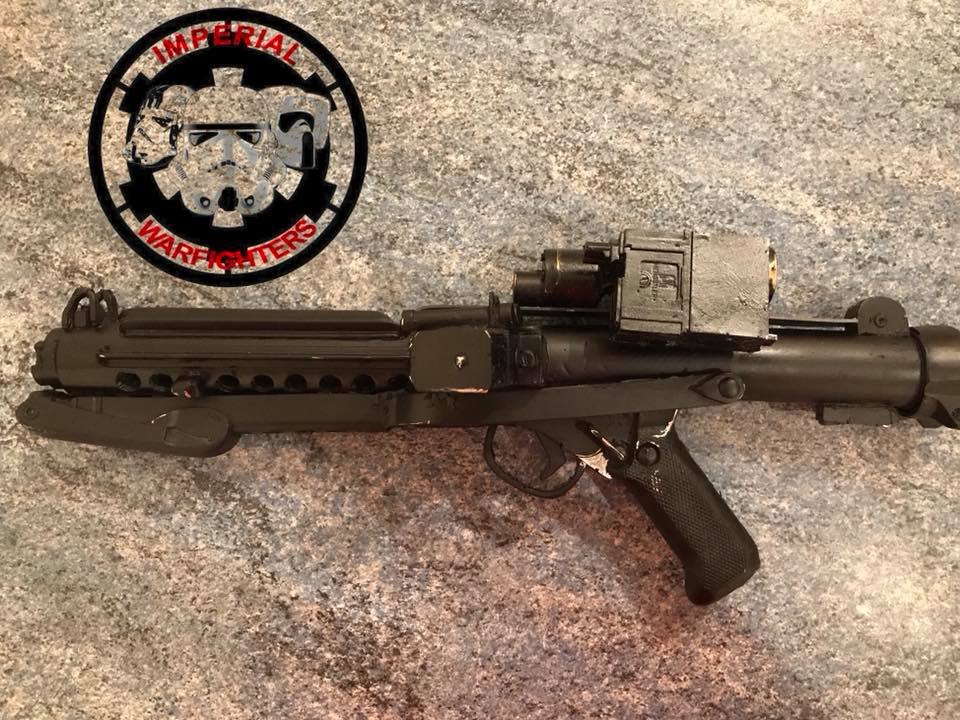
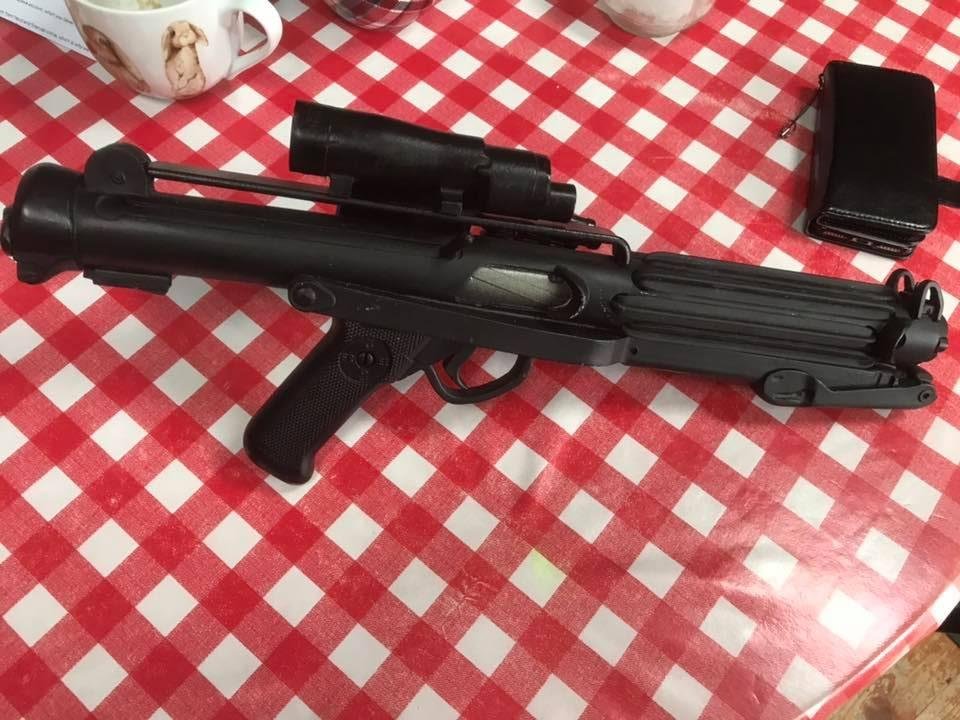
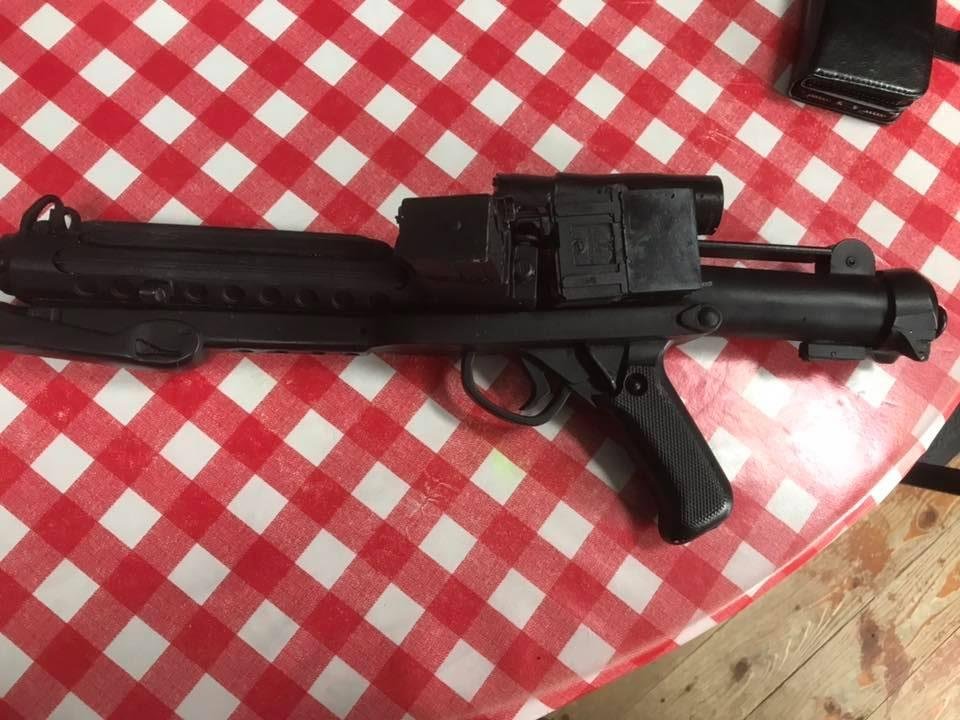
E-11 Suppliers 2021 Been a while since we've had an updated list, no doubt there are other suppliers so feel free to post any info Troopercoola https://www.facebook.com/Troopercoola JMC E-11 kit casted from sterling parts. Fieldmarshall - Aluminium http://www.warmachinepaintball.com/online-store-replicas/ http://blasterfactory.com/e-11-blaster-kits/ Imperial Warfighters - Rubber (NOT CURRENTLY TAKING ORDERS 20-6-2023) https://www.facebook.com/Imperial-Warfighters-280604068972001 RS Props - Rubber https://www.rspropmasters.com/store/sandtrooper/sandtrooper-blasters/blaster-e-11-new-hope/ Shear Tech - Rubber https://www.facebook.com/sheartech Praetorian Blasters - Rubber Etsy: https://www.etsy.com/uk/listing/1742840523/e-11-blaster-classic-version-rubber Imperial Supply Drop - Rubber https://www.whitearmor.net/forum/topic/52035-rubber-e11-blaster-run-x5/ FB: https://www.facebook.com/Imperial-supply-drop-112852407999265 Quest Designs - Resin https://www.questdesigncanada.com/ Imperial Arms - 3D Print https://www.etsy.com/ca/listing/702800849/e-11-max-edition-v4-star-wars-custom?variation0=1096533255 TK-14082’s - 3D Print https://www.whitearmor.net/forum/topic/51047-tk-14082s-3d-printed-e-11-kits-and-completed-blasters/ WILSON PRECISION 360 KITS - 3D print https://www.whitearmor.net/forum/topic/52766-v20-3d-printed-e-11-blasters-anh-wfree-shipping-3-kits-to-choose-from/1 point
-
GREAT start to your build thread, Brad! Posting lots of detailed photos like you have here is the best (and fastest) way to get advice. I would definitely leave some return edges on the top/bottom of the kidney and top of the butt plate to keep them from over-riding each other. Other areas will be up to you, but I have a thread here which may help. AM makes a fantastic set of armor, but one issue that you may want to consider is that the bottom sides of the back plate often need a little extra work to keep them from overlapping the top of the kidney. Not a big deal for Basic or even Expert Infantry approval, but if you are (hopefully) aiming for Centurion it's something that may need to be addressed. A.J. has an awesome tutorial here that will help if you need it. Keep the questions and photos rolling in!1 point
-
Doggydoc, thanks, agreed. After looking at the image gallery posted above, I definitely have too much marked for trimming. I’ll back it off a bit. My hands needed a break anyway. This AM armor is THICK. By the way, I’m going to use the elastic / nylon strapping.1 point
-
Thanks for the link. That helps. There are so many threads, I hadn’t seen that one.1 point
-
1 point
-
Correct, was a prototype, brackets were a little too thin. I've seen some just add a pair of braces to an existing belt1 point
-
Ok I understand the diagram, top right is now. Sent from my SM-G781V using Tapatalk1 point
-
1 point
-
1 point
-
Back from the dead. Was not happy with XT-3 on the PETG parts, now I printed with White ASA and black ABS. Line quality is much improved. First step to paint, then modify for Blast-FX electronics.1 point
-
Congratulations Trooper. Welcome to the ranks.1 point
-
Painted the side extensions black and put industrial strength velcro on the chest, back, and extensions. Had a little time after work to get it done. Looking forward to getting everything that's assembled on this weekend.1 point
-
Super, I appreciate that confirmation. This is the first time I've seen one of these "new" helmets as well, but I wasn't particularly surprised - Anovos used to dab a little CA glue on their neck seal trim back in the day as well, but this was pretty firmly glued in place. It could probably be thrown in a (large) freezer and popped off, but it wasn't my helmet and I didn't want to damage it. Curious if anyone else will be able to validate the ear screw type in the near future, as the helmets are now showing as in stock and shipping on the Denuo Novo website, which has held true for all other products thusfar. The trooper who owns the above one bought it on March 12th and it arrived on March 15th to Southern California, if that knowledge helps - that's shockingly fast. Totally - could be a desirable upgrade at higher levels, and I'm uncertain why they went with a brow trim with visible extrusion marks. Easy to replace though, and instead of hyperfocusing on one silly flaw in a negative post, I choose to share my excitement (and first photos) with the Detachment - as a new, high quality, licensed OT Stormtrooper helmet offering is good news for everyone in our hobby. Especially as the original Anovos have become rare and expensive (when you can find them on eBay), this could be a huge help to many troopers with original Anovos kits, and hopefully heralds the second coming of licensed OTTK ARMOR as well from a quality maker.1 point
-
So is it approvable...? I'd love input from the @Deployment Officer Team, but at Basic, I'd say yes - just as the previous Anovos OT offering was, and that the mic tips would need to be replaced for EIB at a minimum, then additional small notes as below for Centurion. Required Costume Components The following costume components are present and appear as described below. Helmet ✔ Traps (trapezoids on dome of helmet) and tears (area beneath the corners of eye lenses) are gray. ✔ Rear traps and tears have vertical black lines. ✔ Lenses are flat material, green in color, sufficiently dark enough to obscure the costumer's eyes. ✔ The “ear” bars have three or four bumps and are gray or painted gray, with a black outline. Painting the bumps with rank stripes (highlighted) in black is optional. ✔ Frown is painted gray and does not leave the teeth area. A total of 8 cut outs in the teeth area of the frown are present. ✔ Tube stripes are medium blue, numbering between 9 and 16 per side with the curve bends extending backwards. ✔ Vocoder (vertically ribbed chin detail) is painted black. ✔ Aerators/Hovi-MIX tips (cylinders on either side of the vocoder) are black or painted black. ✔ Tears, traps, and tube stripes may be hand painted, decals, or decals that replicate hand painted. ✔ Mesh may be used behind the frown to obscure the face of the wearer. ✔ Note: The helmet is accurate in detail and proportion to official references. ✔ Many commercially available helmets or those considered disproportionate in size or shape are ineligible. OPTIONAL Level two certification (if applicable): ✔? Ears shall have three screws per side, one above and one below the ear bar and one at the base of the helmet. ✔ Ear bars have four bumps only. Not three. ✔ Traps/tears and tube stripes shall have the correct ANH TK details. ✔ Ideally, the tube stripes are positioned approximately a pencil width from the side of the cheek. ✔ Fall of tube stripe tops ideally lean toward the front. ❌ Correct Aerators/Hovi-MIX tips are present. Screens used shall be of a wide type mesh, with the rim of the mic and the inside white or painted white. OPTIONAL Level three certification (if applicable): ✔ Ear bars shall have only one bump painted in black (rank stripes). ❌ Ideally, placement of ears (and screws) should closely follow the rear angle of the trap above them ✔ Neck trim shall be of an s-type profile rather than a u-type profile. ✔ Tears/traps shall be hand painted or use decals that emulate hand painted (with correct ANH TK details). ✔? Ear screws shall be slotted, flat topped, countersunk and painted white. ✔ The vocoder must be integrated into the helmet, and not a separate piece. Other Notes ❌ Vocoder would likely need repaint to better define the arches on each "tube". ❌ Frown would likely need repaint to extend paint to last tooth before the end "V", but no longer leaves the teeth into the gums like previous Anovos offerings. ❌ Mic tips would need the interior and lip painted white, though the mesh has been corrected from previous Anovos offerings. ❌ The third, bottom ear screw is not visible and is covered by the neck trim on both sides. It is unknown at this time if it is also a slotted, countersunk screw, but assumed as the trim lays flush. The trim is super glued in place and I was not able to peel it back to check. ❌ The ear screws do not follow the rear angle of the trap above them (but I think this is a dumb rule anyways, personally). ❌ Though not noted in the CRL, the brow trim may need to be replaced with one without extrusion marks.1 point
-
I am from the Ohio Garrison, unfortunitly I am in the Cleveland area, but let me reach out to the group and see if we do something. Most likely it would not be to borrow armor, but might be able to arrange a visit.1 point
-
Glen makes a valid point, Jay, but perhaps some troopers can show up with you. If you use the “Request an Appearance” links on either Garrison webpage some troopers may jump at the opportunity. Later this evening I’ll also try to get some more email addresses for you.1 point
-
If you wanted to get dressed yourself there are cheap options for Stormtrooper costumes . In regards to borrowing someones own armor I doubt many would allow you to do this, these costumes can cost upwards of $2000. Seeking troopers through your local garrison would be a better option1 point
-
I emailed to the charity email. I hioe that they can help out. That would be really awesome1 point


