Leaderboard
Popular Content
Showing content with the highest reputation on 01/17/2023 in all areas
-
But worry not, my friends... That's right. The deed is done. And my GML @Cricket has confirmed she's received my photos. Now the waiting and anticipation stage.6 points
-
5 points
-
4 points
-
4 points
-
Here it is, the moment you've been waiting for! Three years after beginning my TK journey, I'm finally ready for my 501st application. While recently speaking with @Morgi I realized that this build has taken me longer than the elapsed time from when my wife and I started dating, through our engagement, and to when we got married. I've actually simultaneously submitted these photos to my GA Garrison GMLs this morning, but feedback is still very much appreciated, especially in light of my goal for EI and Centurion approval. The information and photos below are a combination of Pre-Approval and Centurion suggestions and requirements. Name: Caleb M Future 501st Unit: Venator Squad, Georgia Garrison Armor: ATA Works (RIP Terrell Reber) Thermal Detonator: AM (DDD) Thermal Detonator clips: ukswrath Helmet: ATA Works Canvas Belt: Imperial Issue (Rob Kittell) Neck Seal: Darman's Props Boots: Imperial Boots Hand Guards: justjoseph63 (silicone) Gloves: generic rubber with handguards pre-attached by justjoseph63 Undersuit: Extreme Racing UK's Stormtrooper-Store one-piece Strapping system: Justin's RascalSnaps Holster: Darman's Props (8 oz leather) E-11 Blaster: Hellhounds Props (rubber) circa 2019 Height: 6' 0" (183 cms) Weight: 186 lbs (84.4 kilos) at time of photos. CRL: ANH Stunt Graciously assisted by @TKSpartan, @TheRascalKing, @justjoseph63, @Cricket, @zv288bot, among many others, for whom I'm forever grateful. Dressing and submission photos taken with the help of @paradoxb3. He patiently spent hours making me look presentable! Full Body Armor Details Painted with Humbrol 5 Admiralty Gray and 14 French Blue Helmet Details Accessories You guys didn't really think I'd let you off the hook with only the two required TD photos did you? Captive audience = unsolicited TD imagery. See my obsession HERE. Blaster Details Additional photos can be found on my rubber blaster comparison thread HERE. Action & Profile Photos And here I am, showing the face under the bucket for perhaps the first time here on FISD. Hello there! And there we have it, everything I submitted to my GML this morning! Let me know if you see any areas that need to be addressed all the way up to L3! That, or if additional photos will be necessary for subsequent submissions. Link to my Flickr album containing all these images: Flickr Submission Photos Link to a Google Drive containing: Folder of all images for individual download Zipped file of all images for bulk download Below is a link to my still incomplete WIP build thread. Worry not, I've still continued to document my build progress with entirely too many photos, and will update the thread and my PDF compilation in the coming weeks and months.3 points
-
Enjoy your new banner @techdesco Turned out pretty cool!3 points
-
So I did a test to see if I could just sand off the forearm trim lines, and be able to keep the proper TLJ shape (as described in a post I made above). So I carefully sanded with some 80, followed by some 220, and the results look really promising: After additional fine sanding, and then polishing, I think this is going to work great.3 points
-
All leg outer seams are glued: I’m planning to use Velcro on the inner, overlapped seams. Next is the ab side seams, starting with the right side:3 points
-
Wow, this community never ceases to amaze me, though in truth each and every one of you simply constantly maintain the comradery and serving attitude that embodies the motto of Troopers Helping Troopers. It brings me great joy to hear that I have, in some fashion, been able to reflect that service back to the community, and really I've only ever wanted to extend the same assistance and guidance that I have myself been the beneficiary of over the past 3-4 years. Thanks to each of you who sent a congratulatory note, as well as all the rest of you whom I've had the pleasure of interacting with here on FISD. I'm so very excited to soon be formally inducted to the 501st (I submitted my app this morning!), joining the Georgia Garrison, and continuing to participate in all things TK related here with this AMAZING Detachment! Caleb3 points
-
This one's dedicated to @revlimiter and everyone else who's managed to sit down in armor! I've gotten cookies during three troops now If you're unsure if your armor is ever gonna look good enough for Centurion, believe me, there's a lot you can do. I basically build my armor twice and am still improving stuff3 points
-
Wrapping up a productive weekend with the torso all trimmed and sanded. How does this look so far? I couldn't have done it without all your help. Having a frame that is just right for a 70s TK was a big help too. Cal's trim lines wouldn't work great if I was 10 lbs heavier. This week I'll get to strapping this up since I'm certain the blue tape isn't in the CRL. I'm sure I'll have a lot more questions since this is entirely uncharted territory for me. Cal included a kit, so that should help a little. Onward. Sent from my SM-N975U using Tapatalk3 points
-
2 points
-
2 points
-
Thanks for the feedback Adam, Justin, and Luca! Some items are perspective (angle) related, but yeah the ATA kidney has a slightly odd return edge on the bottom which I've attempted to harness to assist in aligning/joining with the posterior. I had decided against the kidney notch since it's not required and I didn't quite have the kidney surface area to cut the notch size I wanted, but it certainly might help obscure that return edge, so I may change my mind on that. The right forearm runs extremely large on ATA kits, so I reduced it's circumference to more closely match the left forearm, and I believe they also measured very close to RS's original standard-sized suit (yes, I watched all their videos and recorded all their measurements, haha). And Adam, I thought exactly what you did while shooting. I liked the look of the holstered blaster, but shot an empty holster version of several poses just in case. Here are some of my images in reserve: And a BTS look of my shooting checklist. I recompiled a document in which the photo examples are on the same page as the written list text, instead of at the very end of the long list, for easier reference. I think I may want to add some additional text and photo examples to those the Joseph had in his original content, such as the mention of green lenses and photos of split rivets.2 points
-
Great to see you back at it @Deployment Officer Team as this particular armor stand as of right now it would make it look better not having the notch. One can see that the notch should alligne with the end of the ab plate and not at the ridge as previously stated in this thread. lucasfilm reference. RS suit reference: FISD reference: This is mostly covered by the belt anyways so why bother right? Yeah but…as we talk about the higher levels I feel it’s important to let people know how the original armor was put together and how it looks2 points
-
2 points
-
What the heck have I done, lol....six things going on at once...no longer have a dining table...but loving it. Trimmed the chest and back, glued the two halves of the detonator, worked on the forearms. The back plates where the cover plate attaches were too high for the plate to fit over so cut about 1/2" out of the middle to make them shorter. Saw the same issue in other 504 AW threads. Also fitted the abdomen, kidneys, and spacer plates. There wasn't enough room for tightening it all so I cut the kidney plates down by 5/8". (Picture is before cutting them down) Learning that this is a slow and steady process.2 points
-
2 points
-
Addendum to Troop 49/4. We got released from our Garrison group photo session and I was DYING for tacos. My helmet fans were pumping the food truck smells into my nose at high velocity that whole time we were standing there and I was obsessed. I did a beeline for the food trucks the instant I could. Amy Allen (Aayla Secura) happened to also be walking back toward the convention center right behind me and stopped me. She loved my Pew Pew flag blaster and wanted to take a pic of us together. With her own phone. With me. Her buddy/handler took the pic and we posed. I didn't have the wherewithal to ask for a selfie with my own phone because my stupid brain was locked on tacos. I realized this about 5 minutes after ordering said tacos and was kicking myself. So I reached out to her on instagram today and asked. She replied with the pic in like an hour. TK life is good. Amy is awesome. I feel special.2 points
-
1 point
-
FYI FISD let them through for Centurion Here's a few recently approved1 point
-
It's all good, though! Yes, I disagree, and yes I made my case with the Gallery images I included above, but I very much like my GML (or at least the one I know from the team), so I'm happy to make a temporary adjustment. Then back up the pack the go. Heck, it took me over three years to get to this point, what's another three hours of waiting? Yeah Glen, this was mentioned in the message I received, though I was initially confused after looking at the CRL model. Only now that you posted the individual component does that make sense.1 point
-
1 point
-
1 point
-
Way to go, Caleb!!!! I'm so incredibly proud of you!!! You really stuck through this, even when it seemed like such an unattainable goal. Aren't you glad you didn't sell the kit way back when? Well deserved indeed!!!1 point
-
Looks cleaner to me with the notch, but I took a look at the ANH Stunt TK CRL, and here's what it says regarding the kidney notch: Abdominal and Kidney Plate align horizontally at top Cut-out notches at the bottom of right and left sides of the Kidney Armor are optional. If present, each notch is approximately 22 mm tall and the back of the notch ideally is aligned with the front edges of the Posterior Armor plate..1 point
-
I truly do not know the rule for the kidney notch or even the proper name for it. But you don't seem to have it? It's often hidden by the belt anyway. ^ mine. It does actually line up with the butt plate when worn vs laying on a table, this was just one of the few photos I could find of the notch in my own armor. Lastly... You may be asked to have this shot without the blaster present. Hopefully not, but maybe.1 point
-
Thanks for the info, much appreciated. I'm on the hunt for new acetone.1 point
-
From my experience it comes down to the acetone used. I guess I just got lucky with a local supplier. I was going to smooth it out and used a different brand (smaller bottle and easier to use) and that turned the paste yellow so did some sanding and applied a new layer of paste and then only sanded/wet sanded and polished.1 point
-
Glen, Thanks for posting these pics. I've been looking at every image I can find of the rear thighs and I believe the reason why these coverstraps are not centrally located and have weird overhangs is a result of the individual trooper's thigh size. As an example, please see the below pictures of my unfinished Jimmiroquai thighs: In this picture, you can see how I split the rear along the coverstrip to allow the overlapping of the rear thigh. I believe @11b30b4 and @TheRascalKing did the same thing with theirs. I then took a little extra time to file down and sand the edges of the non cover strip side to ensure that when closed, it mimics the images seen in the shows and at Celebration. However, with the show, the one thing we can't account for is the amount of movement the actors were engaging in that may have caused some slippage, nor can we account for the unknown variable; the diameter of their thighs. We can tell that the mannequin's frame was quite small. In the above picture, I'm attempting to hold the thigh in a manner that simulates the size of my thigh. When the thigh is somewhat relaxed, or if a person has thiccer thighs, the strip is centered and everything is more aligned. So, with that said, and per the reference images, the rear cover strip looks as if it should sit roughly 1.5 cm lower and to the left (or right for the opposite thigh) of where it currently sits. This narrows the "slope" between the bottom trim and the cover strip, and when closed, emulates the asymmetrical appearance. My only concern about all this is that similar to other items on this costume, such as the kidney plate discrepancies, we don't know if it was deliberate, or incidental. My thought is that the cover strips were meant to be centered, but the movement and thigh size of the actors caused the asymmetry. Now, regarding the straps: I 100% agree that there are two straps on the newer costumes. In Adam Savage's Tested video that showed the Kenobi and Andor 501st Clone Troopers, they highlighted these straps and emphasized that they are now using two straps vice the one strap previously used on TKs. Fast forward to 6:49 for a look at these straps. For the clones, they went back to the ribbed fabric covers: I'll post these in my build thread once I get back to it, but here's the straps I'm using on my thighs. More to come later: So what we need to decide is if the ROTK requires two straps, or save the two strap requirement for New Generation CRLs. The more I look at everything, the more I believe that the ROTK and New Generation (Mandalorian S2, Kenobi, Andor) are totally different costumes. Notice that I don't mention Mandalorian S1, which appears to be retread costumes from Rogue One. Lastly, one final nugget of information from the Adam Savage video that I immediately held onto is the fact that these costumes are made of vacuum CAST (not vacuum formed) urethane. To me, this is enormous and answers a ton of questions we've had. Now... if only someone... never mind.1 point
-
I have a short question about better mobility on the thighs. Should I cut the top back of the thighs down, so it can't poke me during walking? Looking through the reference pictures, there are a lot of troopers with the cutline like the green one on the picture above. But some have a deeper cut like the black line. My preference would be a cut near the black line.1 point
-
1 point
-
@Nairy this looks awesome and I’d love to take your offer on this, if that’s ok! Let me know what you’d need!1 point
-
1 point
-
1 point
-
Hi James, I don't see any problem If you can fill the notches. CORRECTED Thank you @TheSwede As the CRL states: Abdominal and Kidney Plate align horizontally at top Cut-out notches at the bottom of right and left sides of the Kidney Armor are optional. If present, each notch is approximately 22 mm tall and the back of the notch ideally is aligned with the front edges of the Posterior Armor plate.. If difficult to check if the Ab and kidney are aligned at top and how that section looks on you once you put it on. As noted by Daniel, the Notch must be aligned with the end of the Ab plate and not the ridge (my eyes are lying me I'm sorry . Looking at you old prior photos , if the notches you have are aprox 22 mm tall , they looks ok for Centurion. Once again, the AB and Kidney armor must be aligned at top. It would be great if you can post a photo suited up from the sides. AS THIS STAND OF YOUR ARMOR , YOU SHOULD FILL THE NOTCHES FOR CENTURION LEVEL. YOUR PHOTPSHOPPED IMAGES ARE OK. I apologize again.1 point
-
Seriously, congrats Caleb!!! Can't wait to see your approval pix and make memes in your EIB thread.1 point
-
I did the same and as Glen mentioned I covered the trim lines with ABS paste.1 point
-
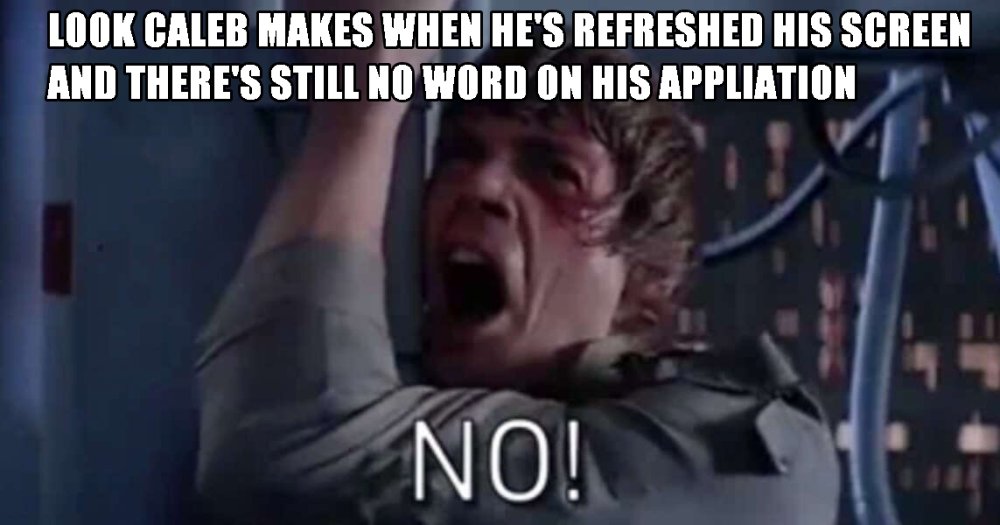
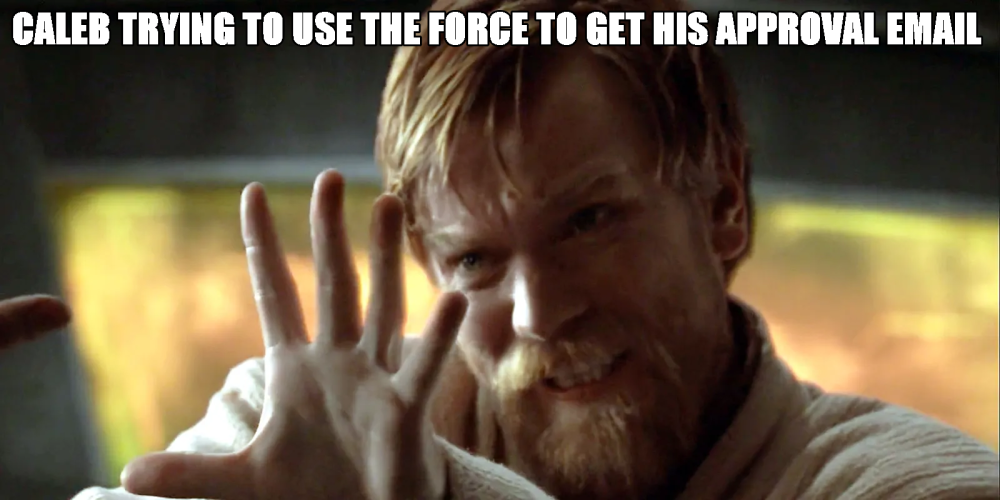
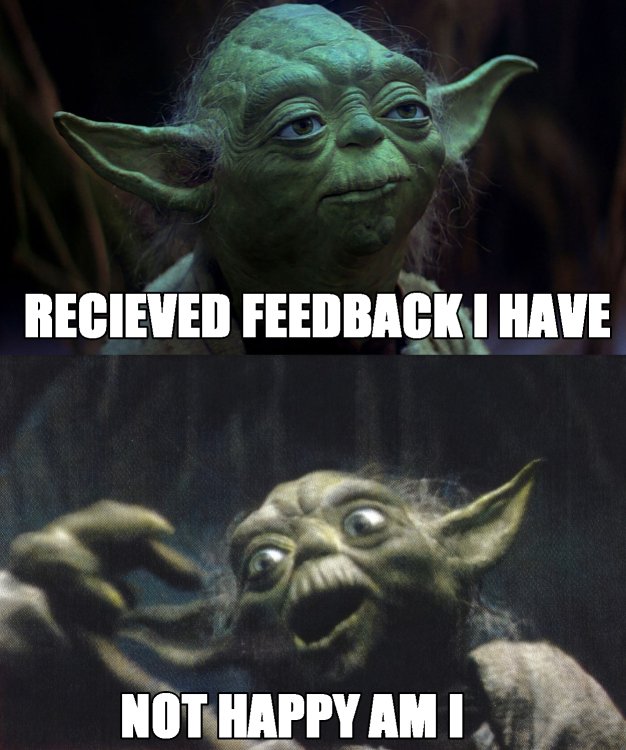
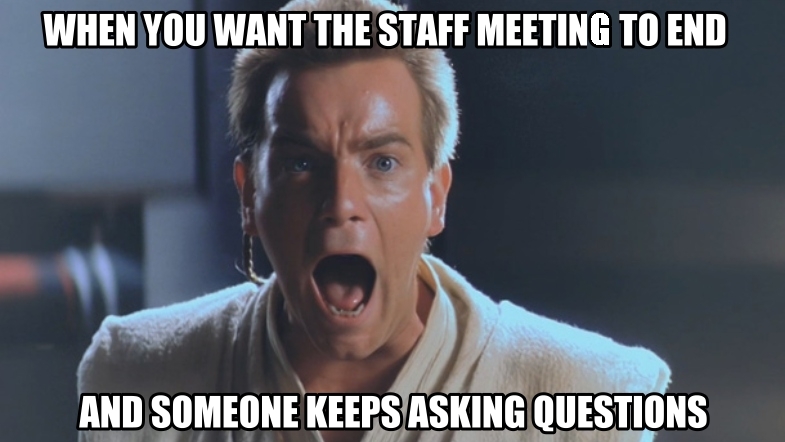
I've been wanting to order Chicago Screws for three weeks now, but instead always end up posting more memes And what it sounds like: "Aren't you a little short for a Stormtrooper?" Inspired by @revlimiter's recent troop log Those three months of ballet as a five year old really paid off, guys Don't worry, it's all possible, even if it takes you eight months1 point
-
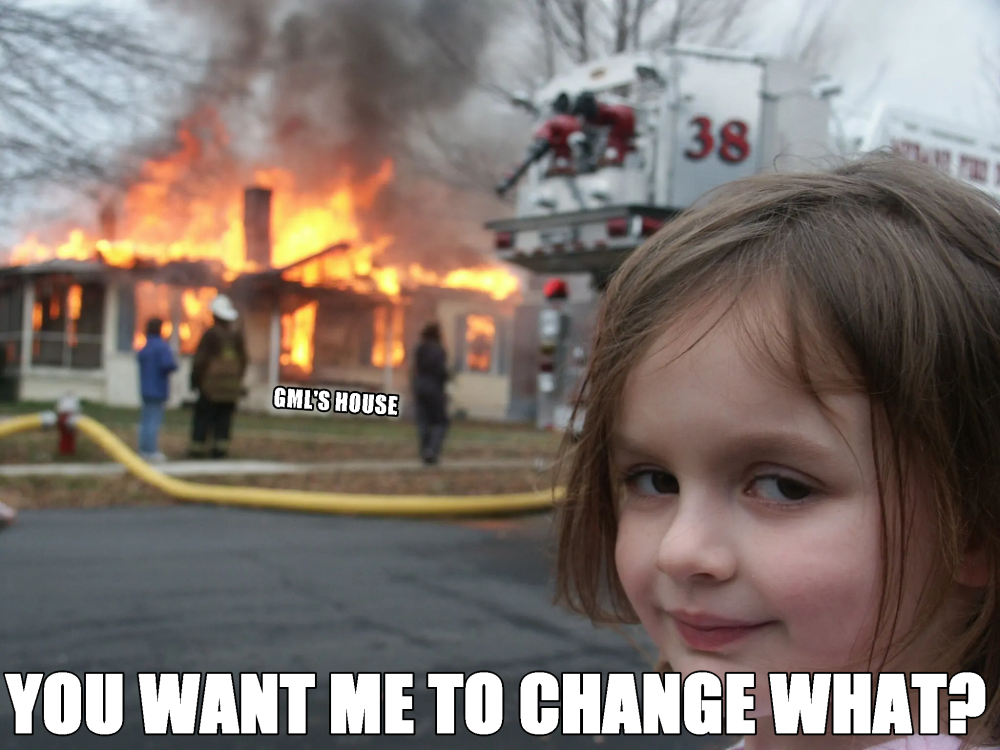
This is brilliant and terrifying at the same time, Chemi! Turning my own name against me! Credit to @paradoxb3 for the idea for this next one below, while we were taking my official submission photos yesterday. SEVERAL WEEKS LATER: And let me just say that the DOs are some of my favorite people in this community! You all are amazing!1 point
-
1 point
-
1 point
-
Sorry in advance for the metric ton of pix in this post. I culled as much as I could. 1/14/23 - ABQ Comic Con Day 2 - booth duty TK troop 49, 4th for 2023. Saturday! Booth duty in my FISD shirt, TK undersuit, and Disney nerd hat. I did my 2 hours between shifts being armored up. I spent over SEVEN hours in armor on Saturday. I almost got my fill of it. Almost got enough time in the armor. Almost. First, the selfies. I took hundreds. These are the creme of the crop. When there's trouble you call DW. I'm still fangirling about having Darkwing Duck to selfie with. One of my dear childhood 80s memories. She-Hulk! I was waiting outside by the taco truck for lunch (yeah, I ordered and waited in full TK) and Shulky came up and wanted a selfie with me. I happily obliged as long as I could get my own as well. PRINCESSES!!! Will always princesselfie. PRINCESS!!! They were amazing. They had a little Kylo in a stroller, but this pic of just the parents turned out best. MAUL!!!!!!!!!!!!!!!!!!! This is Brandon who's usually the ROTJ TK in pix with me. He spent 15 minutes shy of 3 hours getting this makeup applied. He also got his Maul approved this same day. Bravo Brandon!! @elwessbrandon And of course, my family. This is most of them. We're a little odd, but we're good. Good family. Shot while waiting on a group photo with some comic con celebs. With Dmitrious Bistrevsky (Vader stunt actor from Obiwan), and Tait Fletcher (Paz Vizla actor). I'm beside the WW2 Trooper. And with Amy Allen, actress for Aayla Secura. I'm in same spot, but beside a TB now with the gunner in front of me. What I did most of the day - Artoo detail. It was my first troop with an Artoo and I just loved the little guy. We were located next to the Army tent. They had a pullup bar and a basketball toss. I got egged into pull ups in armor. I was delighted to find out that I had enough arm articulation to do it! I did 5 before deciding I was done. Back to Artoo. I spent hours with the little guy. I started talking to him and replying to his beeps. *bweebp blap tweeetledoeee* "No Artoo, they don't all have to stop to take pix with you." FOR HOURS. And it was brilliant. For a while we were more popular than Vader for photos. Kinda want my own droid now... And that sums up ABQ Comic Con for me. I skipped Sunday (today) to catch up on work I missed the past couple days. Also, my armor needs hosing out bad.1 point
-
1 point
-
1/14/23 - ABQ Comic Con Day 1 - booth setup TK troop 47, 2nd for 2023. I didn't attend last year's comic con, so the 2023 event was my first con in armor. VERY Excite!!!! Here's our little group booth area. I helped do setup on Friday, so it counted as a troop. I, of course, had to get a selfie on the Death Star. In armor. Yes. BECAUSE..... 1/14/23 - Comic Con Press Conference TK troop 48, 3rd for 2023. Why in armor? Because the city had a new Electric Bus program/thing being unveiled that day at 2pm and wanted to do a press conference in conjunction with Comic Con. The bus would drop off some cosplayers in front of the convention center as a joint interest story for the bus and the con. I was proud of the above selfie and thought it was pretty funny. Then Vader came along and just stomped all over my little selfie. The coffee cup was *chef's kiss*. We troopers got on the bus and waited patiently... for a long long long time. We hung out for like 45 minutes with no driver in sight. So I took matters into my own hands. Fortunately, I missed all the traffic, pedestrians, and barriers on the way to the drop off a few blocks away. True story though - the bus driver was no where to be found, so we were all having fun and taking pix along with the event organizers. The main bus PR lady asked if anyone could sit down for a driving pic and I basically launched myself into that seat. There was no way I was missing out on driving the bus in TK armor. The bus dropped us off (TB & TKs followed by Vader, Jango, and TX, followed by some Avenger and the event officials). The officials gave their speech and then the press wanted to talk to the 501st members. Randy took off his bucket and answered questions for about 5 min. I'm to his right. It was a proud moment for us. -edit- My garrison decided that booth setup and the press conference were two separate troops, so this event counted for two in our official record books. I'm updating my troop tracker and the posts to match. FOUR troops in 2023 by Jan 14th! Crazy.1 point
-
More cutting… Spine plate before: Spine plate after: Cod and butt before: Cod and butt after: Torso front/back before: Torso front/back after. I split the back in order to make the sides seamless. And I haven’t cut out the middle tabs in case I need to widen or shrink the torso: Torso pre assembled: Inner chest before: Inner chest after: Chest before: Chest after: Back before: Back after: Shoulders and pouch cover before: Shoulders were really thick so it was a soft pull with really no guide lines on the lower edges (both at the center of the picture), I ended up using the one with the barely visible guideline as a pattern for the lower edge where there was no visible line. But I cut these pretty far off of the guide lines to be safe. Shoulders and pouch cover after: And rough cut is done. My hand hurts.1 point
-
Ugh...just awful! Get rid of it! I'll do you a favor and charge you just a little bit to take it off your hands. PM me for my address.1 point


