Leaderboard
Popular Content
Showing content with the highest reputation on 09/29/2022 in all areas
-
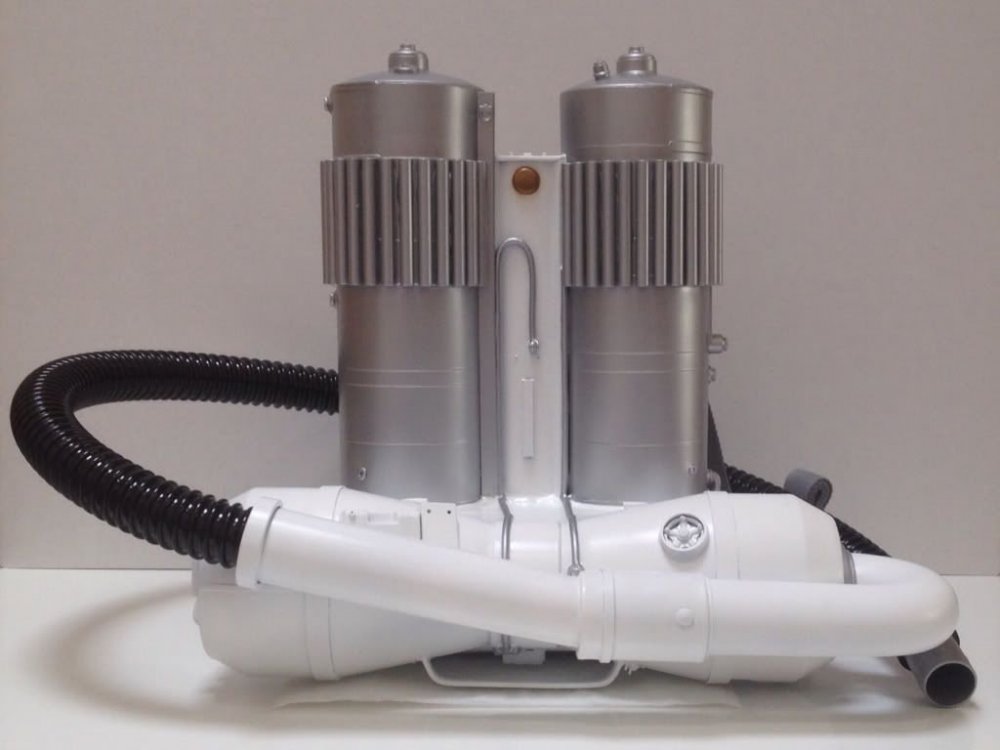
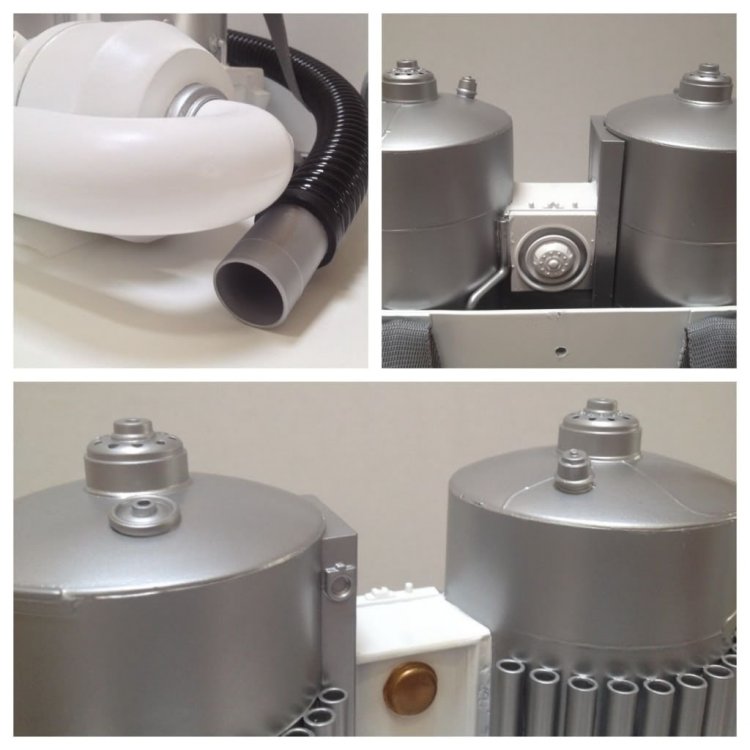
I jumped ahead with the build again. Sorry. I'll post the rest of my pack build pix in the near future. But I suited up for basic approval today!!!! I flat out hate the standard wipe bottle. I just hate it. I'm hoping to use the Meguiar's oval wipe bottle for my whole approval through centurion. I hope. It's heavy. It's hot. It's clunky. I LOVE IT. I have a week of LFL troops ahead or I'd be weathering this and going for Centurion. I need to be clean to still troop my ANH Stunt for the Balloon Fiesta events though...3 points
-
Awesome. Open the blaster and run around the house going pew pew pew. I think we all did it at some point3 points
-
Thank you for the feedback and advice. I've looked over the list of changes required and they all seem doable. I'm very busy with work right now so it may take a couple of weeks. Stay tuned!2 points
-
100th Troop in the ESB TK Armor! 106. Central Valley Fallen Heroes Car Show, Clovis, CA - 9/24 Well this one turned out to be a roller coaster! It was supposed to be just two troopers, but I found out when I got there the second had woken up with the stomach flu. So I said, heck, I'm here- I'll do it! I suited up at my car and trooped completely solo for the first time! Really glad I brought my TK (I knew the other guy didn't have a TK but was still costume TBD, so figured we gotta have at least one TK at every event, right?). It was totally the right decision! I didn't even make it from my end of the parking lot to the first branch of the show and I was mobbed by super-excited kids who wanted to take pictures and gladly high-fived. I got a couple hugs, even! Adults also went nuts, patrons loved it when they got a photo of me with their classic cars (and there were some fun ones, multiple late 60s Mustangs, which are my personal favs). Don't know if I'd really want to do another solo troop again, but hey, if ya got to, ya got to!2 points
-
1 point
-
1 point
-
Thank you. I’m very proud to be part of the fighting 501st. Very proud and a great honor. Sent from my iPhone using Tapatalk1 point
-
Hello and congrats TK-22617! Speaking from my own experience, there are a lot of small things that are not all too time consuming that you can do to make huge improvements on the looks! First off what I did was to just scrape off paint from the teeth, both the upper and lower part of the teeth, making sure that the color doesn't leave the teeth area! Then for L3 you might want to fill in the gaps in the back of the thighs with some Sugru! Find out how to do that here! Also a very quick thing here is to move out the dropboxes (blue) so they align with the outer most line of the plastic belt (yellow), and maybe dab a little glue on the back somewhere so they stay in place (that's what I did but there are a lot of other solutions) For L3 you might have to carefully cut off the sniper knee and reposition it (blue) to (yellow) These are some of the things that I have had to do myself (all of the above)! Regarding the sniper knee, it took me 2 hours or so of just carefully cutting in with an exacto blade with this attachment If you do this and you have to reattach it, don't be afraid of a little gap under the knee as we've seen many sniper knees with a little gap under it. I'll just attach how my knee looks now Again congrats on your new ID and I hope that you'll put many smiles on peoples faces!1 point
-
Great to know Christine, we'll be ready when you 're ready!1 point
-
Wink wink, hint hint . Way to go, Jonatan! Next up.. HERO!1 point
-
Congratulations Jonatan, Welcome to the ranks.1 point
-
1 point
-
1 point
-
1 point
-
1 point
-
I have boots. Right now feeling a bit PTSD over it and the disco flashbacks. I ordered one size larger as per everything I read and I think I could have just went with my normal size. They are a tad big but my orthotics fit in fine and that was my biggest worry. I don't think some gel inserts will be a bad idea so the extra space will be good. I have a blaster too, but am too afraid to open the box. It's getting too close to really feeling real now. Bart1 point
-
You could look into sportswear sleeves with built in padding like this https://a.co/d/gjyg0k5 I'd suggest slightly oversized sleeves if you go that route so he can pull the "elbow" pads up to his biceps. Or cut strips from a puzzle-type floor mat like those sold at Harbor Freight https://www.harborfreight.com/4-piece-anti-fatigue-foam-mat-set-94635.html Best of luck with the build.1 point
-
You have been with me through my entire build and I just wanted to say thank you. It meant a lot to me that you took the time to look at every post and helped me along the way. Please understand that troopers do notice what you are doing for them and I for one am very very grateful . Sent from my iPhone using Tapatalk1 point
-
Build is finally completed Submitted and approved at level one Thank you to all who helped me along the way. As I said on Face Book, there are countless costumes out there for our universe but the 501st was founded on storm troopers and nothing makes me happier than to own , troop , and represent the fighting 501st as a TK!!! Sent from my iPhone using Tapatalk1 point
-
So I didn’t really feel like doing the same sponge/paper towel dabbing process on the cape for the weathering, and wasn’t too happy with the color in the first place since it was really light and not black enough. So I went the lazy route and roughly spray-painted it black and sprayed grey on the edges for mud. I didn’t completely cover it in black so it has a slightly worn look. In some images it looks a little too saturated, but it’s pretty dull irl.1 point
-
HA!!! Well done! I had my Centurion on my 2nd troop. Gonna build a Heavy Weapons Trooper for a Centurion trifecta?1 point
-
Jonatan Östling TK 23592 Centurion A4 Chemi Here you are, brother!- https://www.whitearmor.net/eib/certificates/23592-centurion.png1 point
-
Wow! What an honor! Thank you so much! This would not have been achieved were it not for all the encouragement and support from you all! Thank you @Chemi for always giving sound advice (and for making me sand a lot less Apoxie Sculpt ), and a big thanks to @justjoseph63 who I sought out to terrorize with questions about Centurion long before I even got my armor! You are awesome too and stay safe now in these hurricane times! This has always been one of my goals and I'm super proud! Strange to hit Centurion before my first troop but hey, there it is! Now on to my Hero!1 point
-
1 point
-
1 point
-
1 point
-
1 point
-
Hallo Galton nice shot , Welcome to the Legion and FISD!! Enjoy being a Bad Guy Doing Good!! hope to see you more often here in the forum.1 point
-
Looking GREAT, Adam! Not sure if you thought about this, but for the rear of the pack this is what I did: My oil pan is a bit different, but I cut out the back and used a piece of 3mm black craft foam sheet (EVA) to cover the hole. I have an overlap of about 2 inches around the sides and just glued it on. I indented the foam in the hole, which makes room for the raised OII area and allows it to sit close to the back plate. It also helps prevent scratches from the oil pan on my armor.1 point
-
A testament to AM armor! But if it makes you feel any better I do need to take it in for various maintenance projects I've been putting off because.... that's just what you do, isn't it? The cover strips on the thighs and shins have yellowed significantly (I assume because of the sanding to make smooth while the main armor parts were already smooth or the sanding joints hidden by said cover strips). And my temp fix from "get it approved, deal with it later" of 2016 on my lenses is finally failing- the tape and velcro is finally no longer adhering so maybe I should actually glue them in like I had originally planned all those years ago, . I'm also going to replace my shoulder bell connections- the elastic is shot and one of the snaps is starting to pull through (though it did make it easier to get into it by myself, normally I have someone snap those for me). It could use a good polish and I'm pretty sure there's still remnants of a "special guest" sticker on one shoulder bell from... many troops ago that I keep forgetting about and not removing. I cannot complain, over all!1 point
-
1 point
-
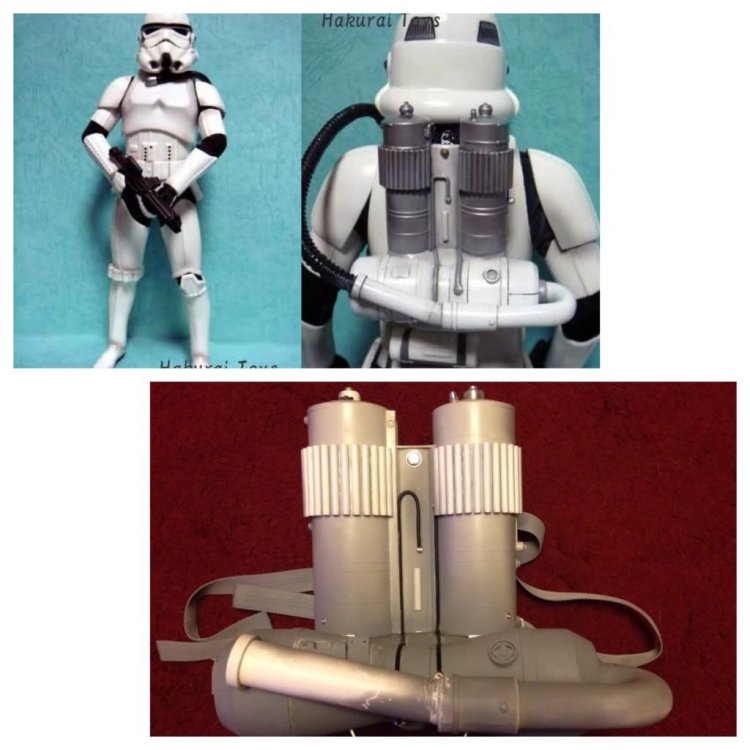
I cannot tell you how much I was sweating this task - getting the belt correctly built and fitted to my armor. See, when @Scimitar and I were building my armor, he did about 95% of the belt work himself. It's really a one man job and not something that allows room for error. But I didn't really know exactly what he did... so I made things up as I went along and very carefully measured 8x and cut/riveted once. The belt sits at Centurion height just like my ANH Stunt belt. I got the snaps set at the right height and the rivets installed correctly. And I still can't get over that plastic match. Slightly angled downwards, but the plastic and canvas line up correctly. WHEW! Yeah, my home gym room has a driving rig in it. Doesn't everyone's? Then I got the ammo pouches added to the belt. The game model has them sitting about as low as possible on that belt, so I copied. The pouches are held on with chicago screws. This gives me some wiggle room for installation mistakes. If the DO Team tells me to raise the boxes, I can still do so. Though there's not much room to lower them... Lined up! Kinda proud of myself here. And my last updated bit for the day - the radio. I was looking on the HWT facebook group for some inspiration and noticed the Dave's Darkside Depot pack. It featured a non-cardboard radio box with a hinged lid and interior storage. And did I mention it wasn't cardboard?!?! I went into research mode and found this conduit box on amazon that looks similar to the one on the DDD pack. It's a bit thicker than the radio cardboard, but not horribly so. Honestly, if anything, it's more accurate to the game model. The radio box in the game is THICK. The cardboard radio box has been bothering me the entire build. It's the most flimsy part of the pack by far and seems like just one good knock could flatten it. The plastic box is a good bit heavier, but will stand up to some punishment. It just needs to be painted, hinged, and get a new faceplate made for it. BAM. Painted and hinged. I propped it open so the inside could get a bit of black spray as well. I installed the hinges with rivets. I'm riveting darn near everything on this pack (the tube mount arms and tube are riveted). Might as well keep at it. Then I measured the box and drew up a new face plate. My laser cutter is making quick work of some 3mm black acrylic. And there's a radio plate. I cut some extra square shapes to spruce up the lower area a little. Not sure if I'll go through with that, but I'll at least have the option handy without extra work being done. That's me caught up. The radio box paint is curing at the moment. Once that's done I'll get the new box assembled and start final mounting of boxes to the oil pan.1 point
-
I believe I'm at 23 troops with this bin now. It's been incredible all year. Some early morning troops are coming up that'll have me suiting up at 4am in pitch dark fields. I added a little rechargeable camping light to my bin for those mornings. The lantern has 4 brightness settings, 3 color settings, and claims 72 hours of contestant use. It can even be used as a power brick for phone charging if needed. It fits well in the remaining lid structure and is riveted in place.1 point
-
Ari, Thanks for reaching out. I've been away from home for a while, so I didn't see your post initially and apologize for the slow response. I'll continue to update my work and I hope the thread helps you out during your build. I reached out to the designer and asked if he minds me sharing his info, but I haven't heard back yet. If he gives me permission, I'll share their info. However, the files Glen posted have been used by quite a few people and I've worked with the designer previously; he's very helpful. @Cricket put up a great build thread when she used these files for her son. You can find it here: Regardless, I have a few updates I'll be making later this week and will post them here. For now, here's a picture I haven't posted yet. I finally got everything smooth on the main helmet and have since coated it with another layer of filler primer. This pic was from the first time I did a test fit using screws instead of loosely setting the pieces in place. So far so good. What's good to look at though is the differences between the initial primer layer I posted on August 3rd and this one. Plus, it looks even better now. 3D printing is fun option for doing these, but it's a ton of work. Please keep in mind though, that with these type of builds, 3D printing is the hobby not costuming. I've covered it previously in other build threads, but if you're looking for a costume to jump in, there's other options available that'll save you a lot of time, heartache, and in some cases money. I only say that to give you a head's up, not to discourage you, primarily because Halloween is very close. For a 3D TK, you might want to set some extra time aside. Typically, it takes me around 3 months at the quickest to assemble a full 3D costume and that doesn't account for the lead time on soft parts and assembly. Regardless, I will gladly jump in anytime to help you out if you have any questions and now that I'm back in town, I'll start updating my threads again. Thanks for the interest1 point
-
Joseph, Thank you. I couldn't have done it without Dave and Chemi.1 point
-
WHAT I THOUGHT WAS MY 100TH TROOP BUT I TOTALLY SKIPED ONE SO IT WAS ACTUALLY TROOP #101 100th FISD TROOP!!!! 101. Star Wars Night with the Fresno Grizzlies, Fresno, CA - 5/6 This one cracks me up because I keep thinking it looks like I'm flipping the camera off. I'm waving to the crowd, there were some excited kids in the front row. Still waiting on the photos from our other handlers, so if any standout I'll update the post to share. GONK droid stole the show, unsurprisingly. People though he was a prop until he'd start walking around. It was also Vader's first troop (in Vader, he's got a Royal Guard and a Nihilus). Great group of people, great troop, bordering on hot weather but not boiling like in some years past (seriously, we've done this troop in 100F+ weather before, not fun!) Phasma continues to have a couple of kinks to work out, but they are in progress and overall, she's actually not too bad to wear! I still tap out at about the two hour mark, but I think that's solid. (I switched to Rebel Scum OT X-Wing for the second half of the night, and had a blast, little girls were really excited to see Iden Versio, me and a female Jedi wondering around). Even did an interview for a local news channel! And I finished my new FISD patch shirt just in time for the occasion!1 point
-
98. Zoo Boo (Day 2), Fresno, CA - 10/30 Sharkbait, ooh haha!1 point
-
97. StocktonCon - Day 1, Stockton, CA - 9/11 PHASMA'S DEBUT!!! AT LONG LAST, SHE'S COME OUT TO PLAY! I later heard the alien got third place in the costume content, so that was cool!1 point
-
95. The Weekend Blender (Day 2), Clovis, CA - 2/22 Ladies of the Legions panel!1 point
-
24. Stockton Con - Day 1, Stockton - 8/20 TK on the left between the TIs.1 point
-
Hi guys Just thought I would drop in with my current build project that I've just finished, been several years in the planning and following on from my UKG partner in crime John Danters build, having led him to the used upper tank kit I've always thought the lower tank reminded me of a cement mixer drum, I've used two of the paystar kits but they also made the kenworth transit mixer kit too which I never got hold of, any way two of these stuck together plus the amt union 76 tanker, along with the amt moving on truck... And some plumbing pieces and artistic license I've ended up with this..... Enjoy1 point

